The Yakisugi SmartCap Build
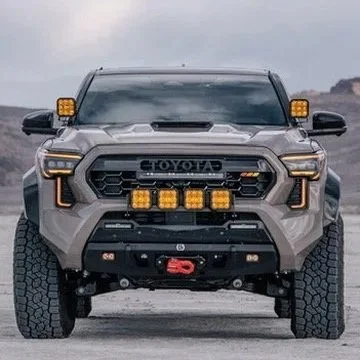
First off — thank you for following along on this one. I know it's been a few months since a proper MUDMIXR update, and I owe you one that covers everything we've been up to. This isn't that post. But it's the most recent piece of the build, and I'm genuinely excited to finally share it.
This project took longer than I expected, involved more math than I expected, and at one point I was standing in the truck bed with a headlamp and a marker questioning every measurement I'd made. But it's done, and I'm proud of how it turned out.
If you've been in the topper with me, you know the stock ceiling of the RSI SmartCap EVO is just bare, utilitarian panel — functional, but not exactly inspiring for a rig I want to spend real time living out of. I wanted something that felt more like a cabin than a cargo box: warm wood, hidden lighting, something that makes the inside of the topper feel intentional. So that became the project.
There's more coming too. I've got some new brands stepping in to help support this build, and I'm excited to start highlighting those partnerships as the next round of updates rolls out.
The Concept
The plan was simple on paper: run a series of stained wood boards across the ceiling with integrated LED strips woven in between, mounted to crossbars anchored into the topper's existing threaded mounting points — no extra holes in the roof. Six boards, three lights, symmetrical, cabin-grade.
Simple on paper. Less simple once I started measuring.
Plot Twist: The Ceiling Isn't Square
About halfway into planning the layout, I discovered the interior of the topper isn't a clean rectangle — it's a trapezoid. Narrower at the rear between the bins, wider up at the cab end. Rear width came in at 33 3/4", front at 35 5/8". Not a huge difference, but enough that a symmetric board-and-light layout designed for a rectangle would've been visibly crooked by the time it got to the front.
The fix: instead of angling every board to match the taper (which meant cutting angles I really didn't want to deal with), I kept every board straight and let only the two outermost boards float to absorb the wedge-shaped gap. Everything from board two through the center light stayed locked to a true centerline, front to back. That meant I could measure off the centerline at each end — wall-to-center at the rear, wall-to-center at the front — and every light and inner board would land in exactly the same relative position no matter which end I was working from.
It also meant a lot of on-the-fly math in the truck bed with a calculator. There was one moment where I mis-measured the outer light spacing and only caught it because a board literally wouldn't fit where it was supposed to go. Lesson learned: when your gap math doesn't leave room for the next piece, trust the tape measure over the spreadsheet.
What's Behind the Boards
Before any wood went up, I treated the ceiling itself — this wasn't just cosmetic panels laid over bare aluminum. First pass was Dynamat Xtreme for vibration damping, focused on the areas doing the most flexing rather than full coverage. On top of that, a full layer of 1/2" Dynaliner, closed-cell and moisture-resistant, to handle the insulation and sound-deadening work. Then I packed 3M Thinsulate SM600L into what cavity space was left, which is the same stuff used in a lot of van conversions — good R-value without adding a ton of bulk. The furring strips that the boards mount to went in on top of all of that.
It's not a heavily insulated build — there's only so much cavity depth to work with in a topper ceiling — but it's a meaningful step up from bare metal, both for temperature swings and for cutting down road noise. And practically, it meant every board I ran was going into something solid, not just screwed straight to sheet metal.
The Wood: Yakisugi (Shou Sugi Ban)
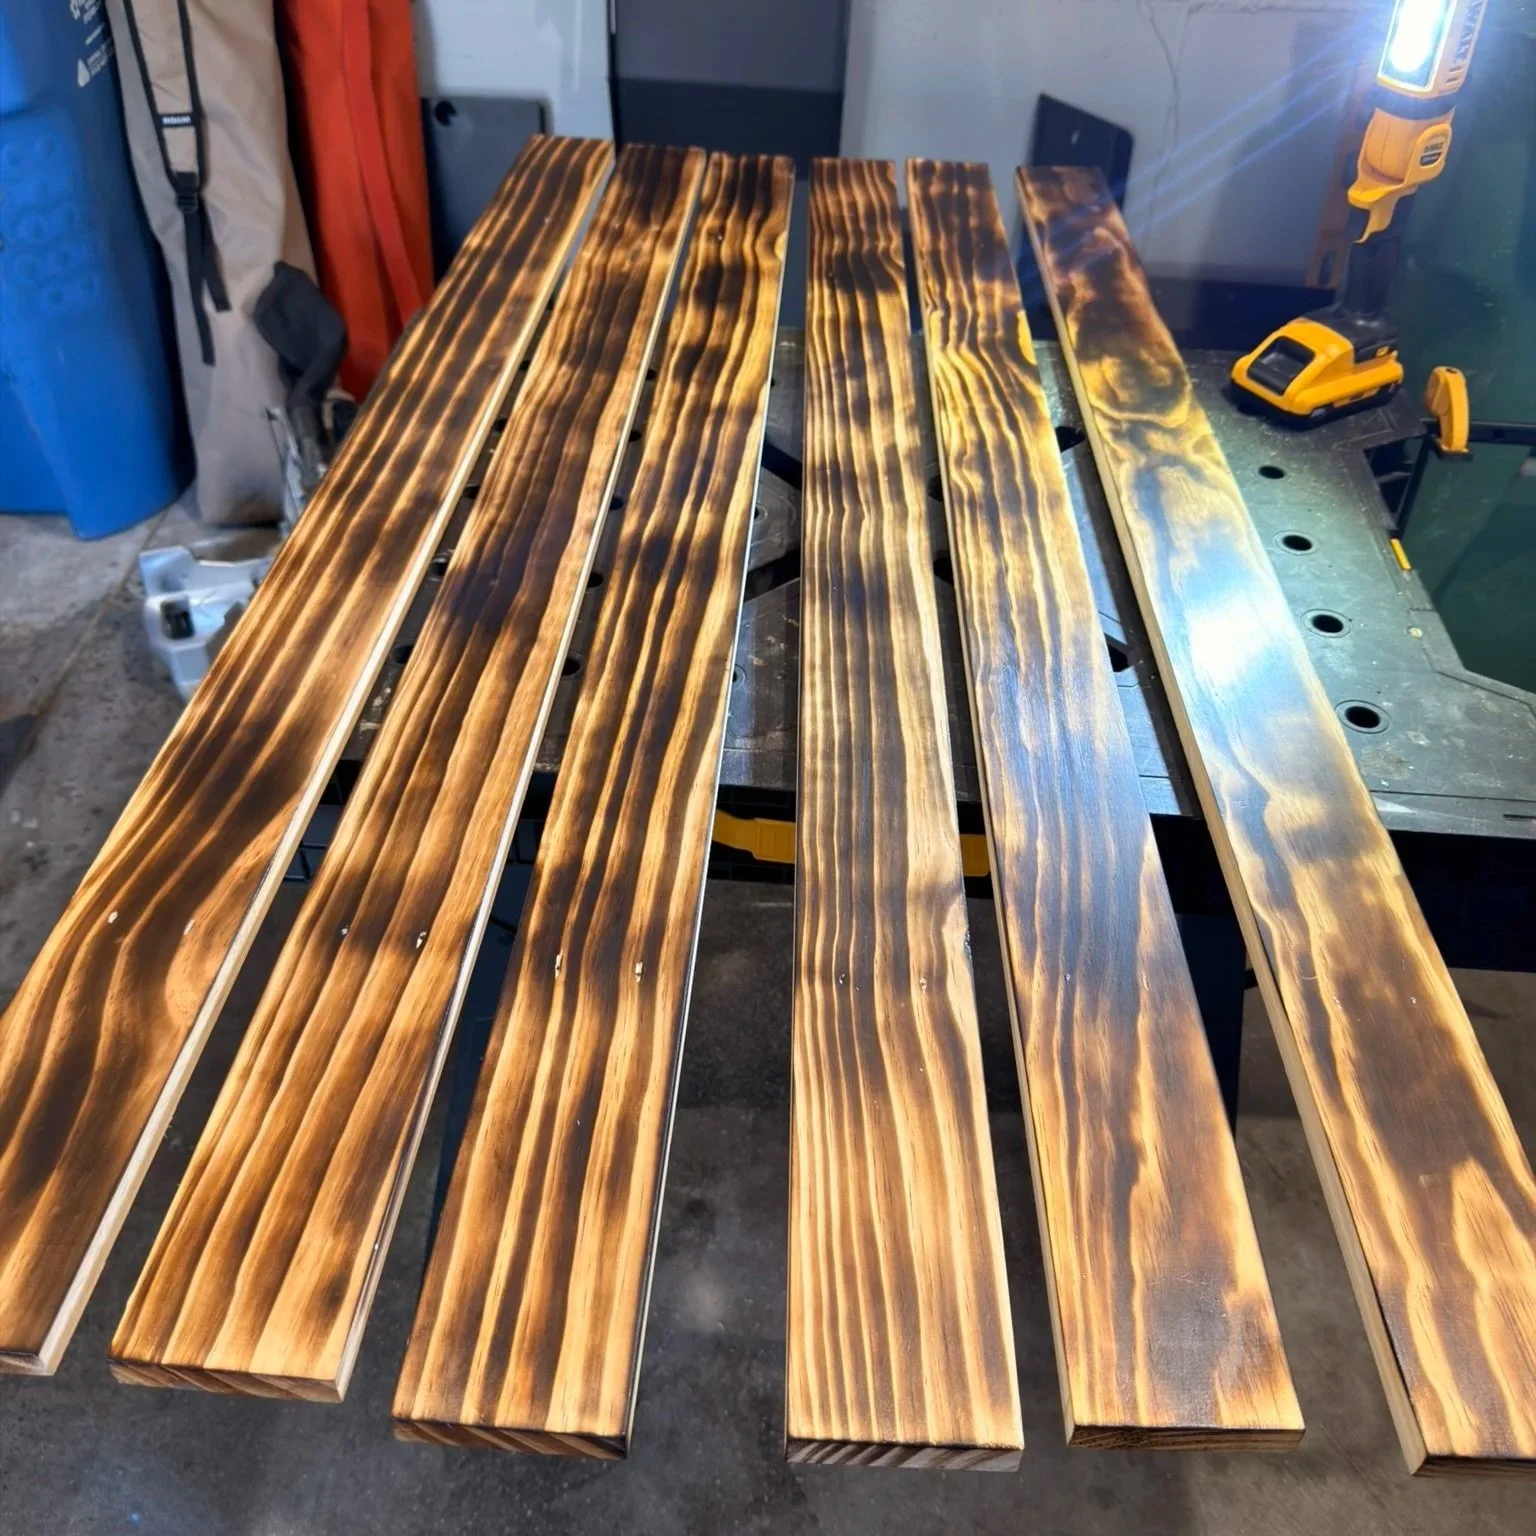
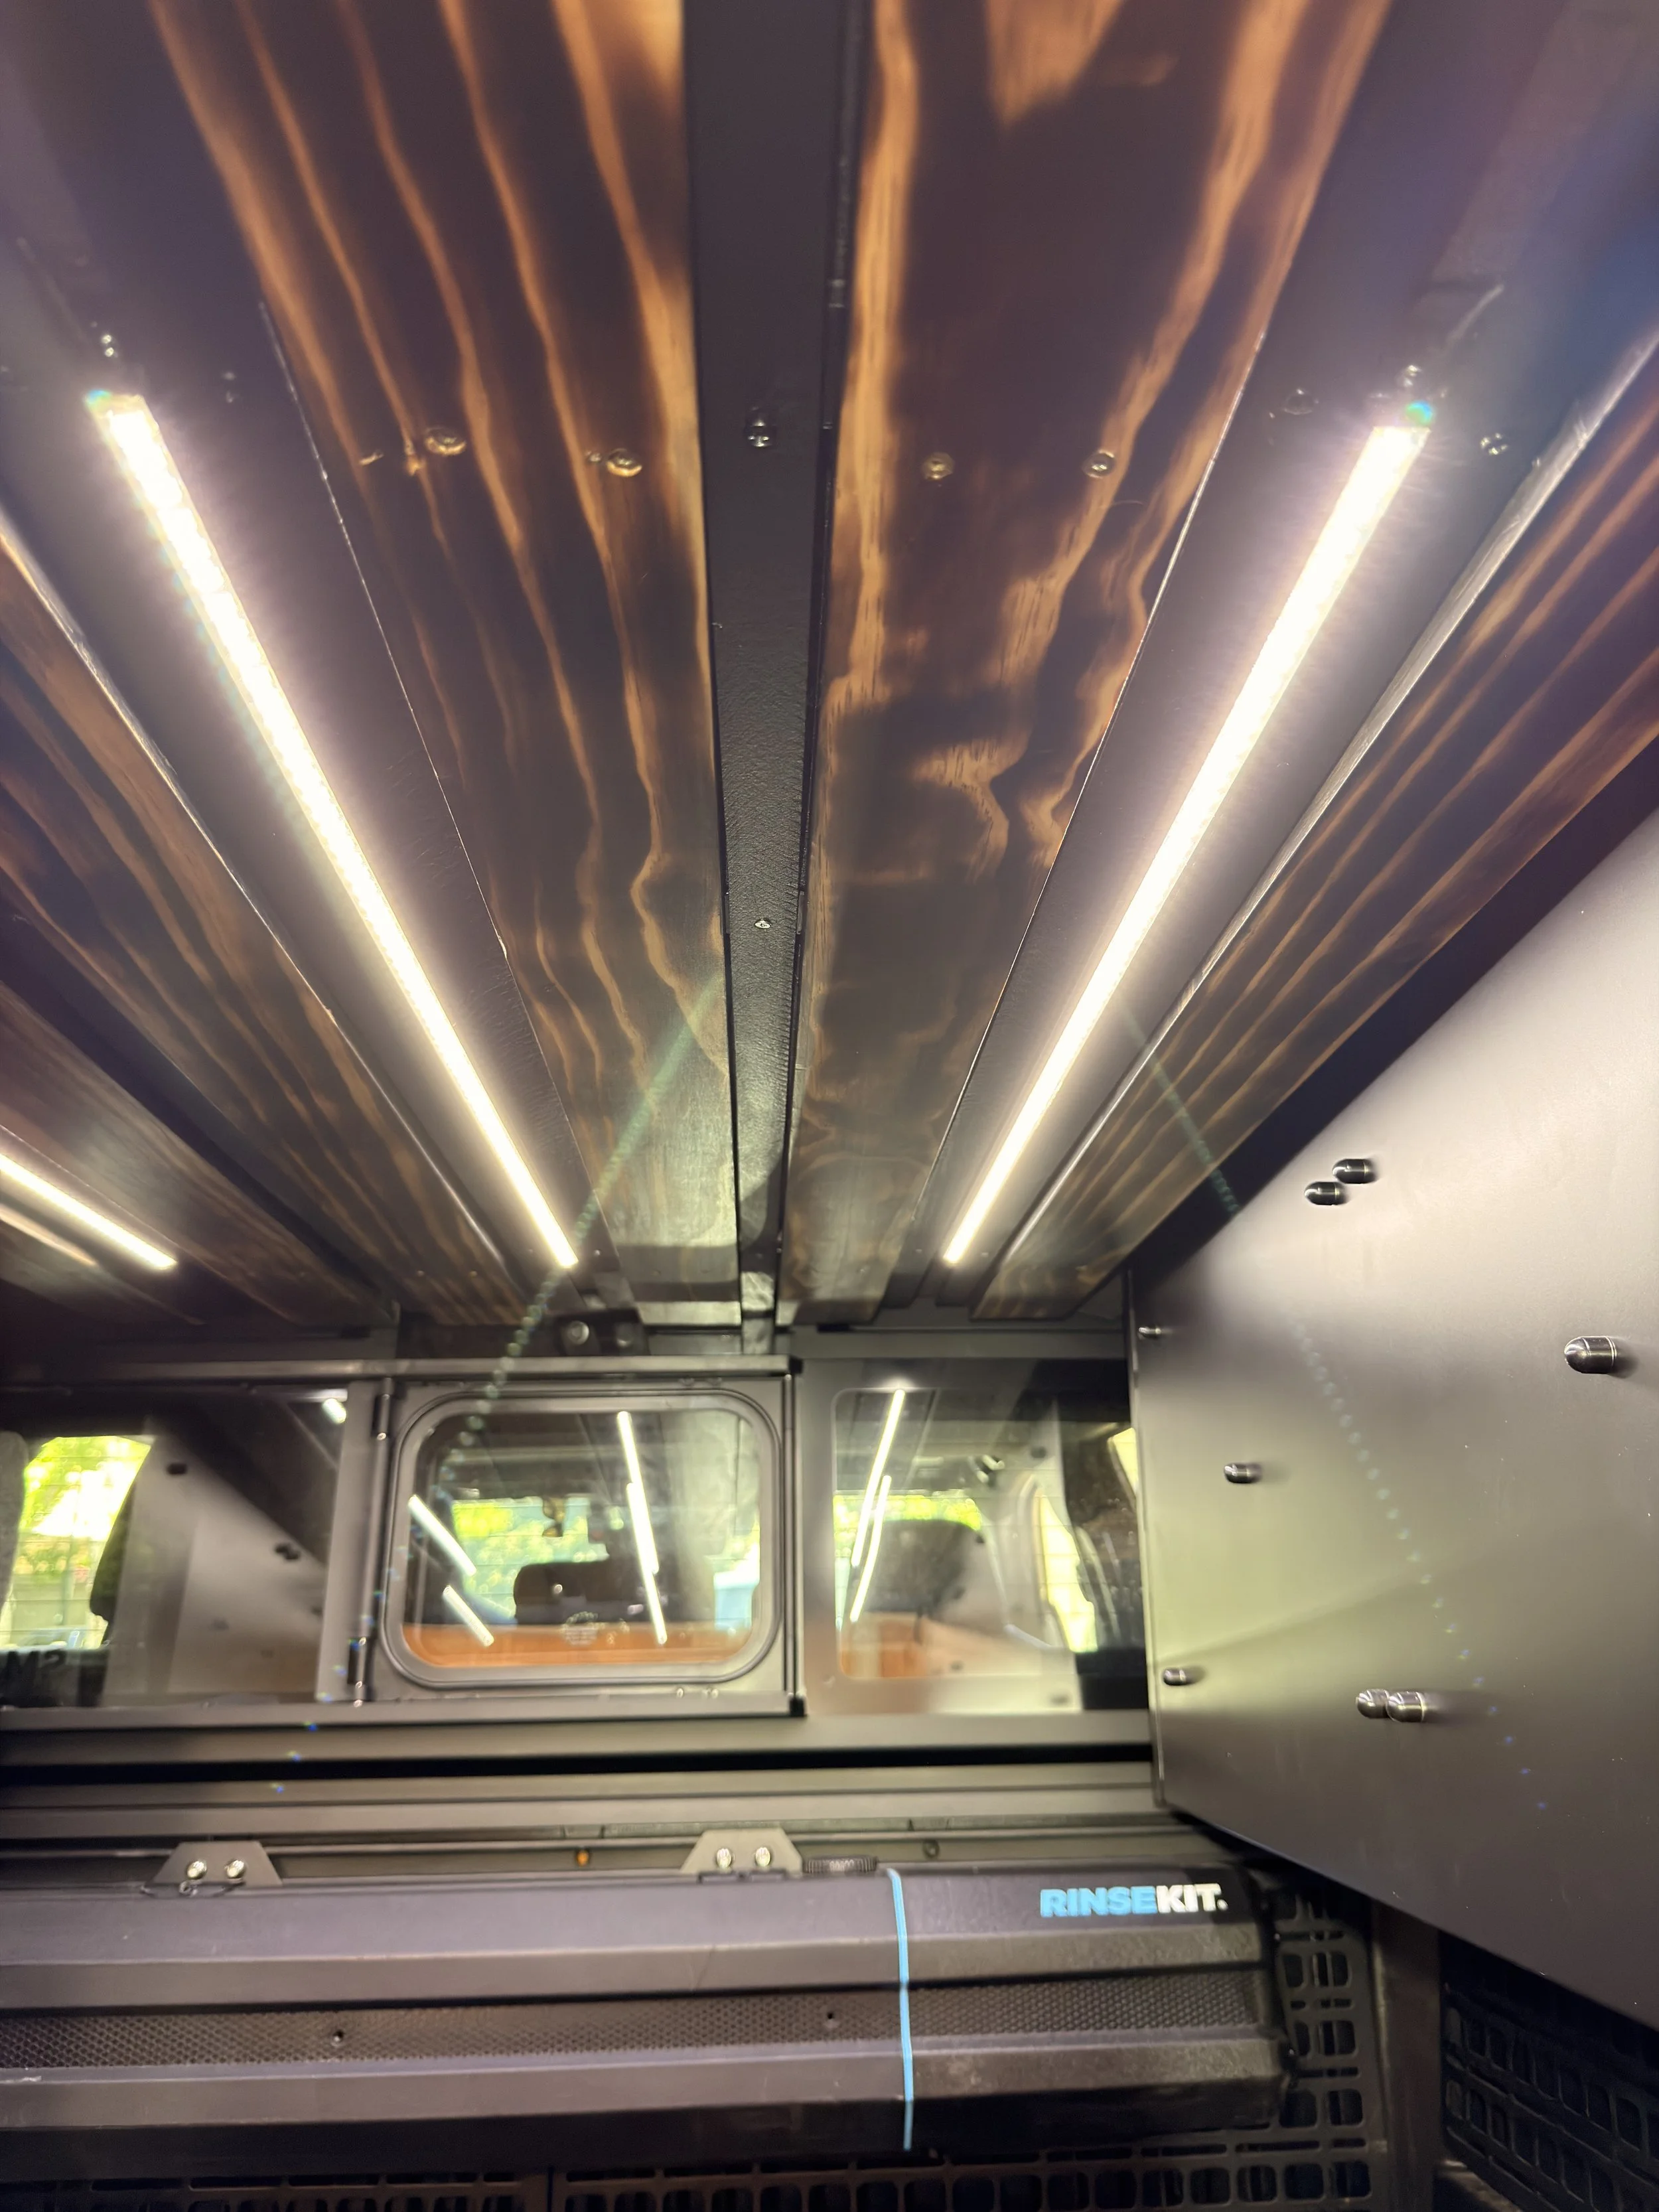
For the boards themselves, I went with 1x4 pine, torched using the traditional yakisugi (shou sugi ban) method — a Japanese wood-preservation technique that chars the surface of the board with direct flame. Beyond the obvious visual payoff (that deep black-to-amber grain pattern you see in the photos), the char layer also adds a genuine layer of protection against moisture and pests, which matters inside a topper that's going to see dust, humidity swings, and the occasional open window.
Tools used:
Bernzomatic torch, running off a standard 1 lb propane bottle
I worked each board slowly and evenly, watching the grain lift and darken as the surface charred. Softer grain (the earlywood) burns faster than the harder growth rings, which is exactly what gives you that raised, almost rippled 3D texture once it's finished — that's not stain, that's actual burned topography in the wood.
Once torched, I brushed off the loose char and sealed everything with multiple coats of matte polyurethane to lock in the finish and make the boards durable enough for daily topper life — dust, gear getting tossed around, temperature swings, all of it.
The Lighting
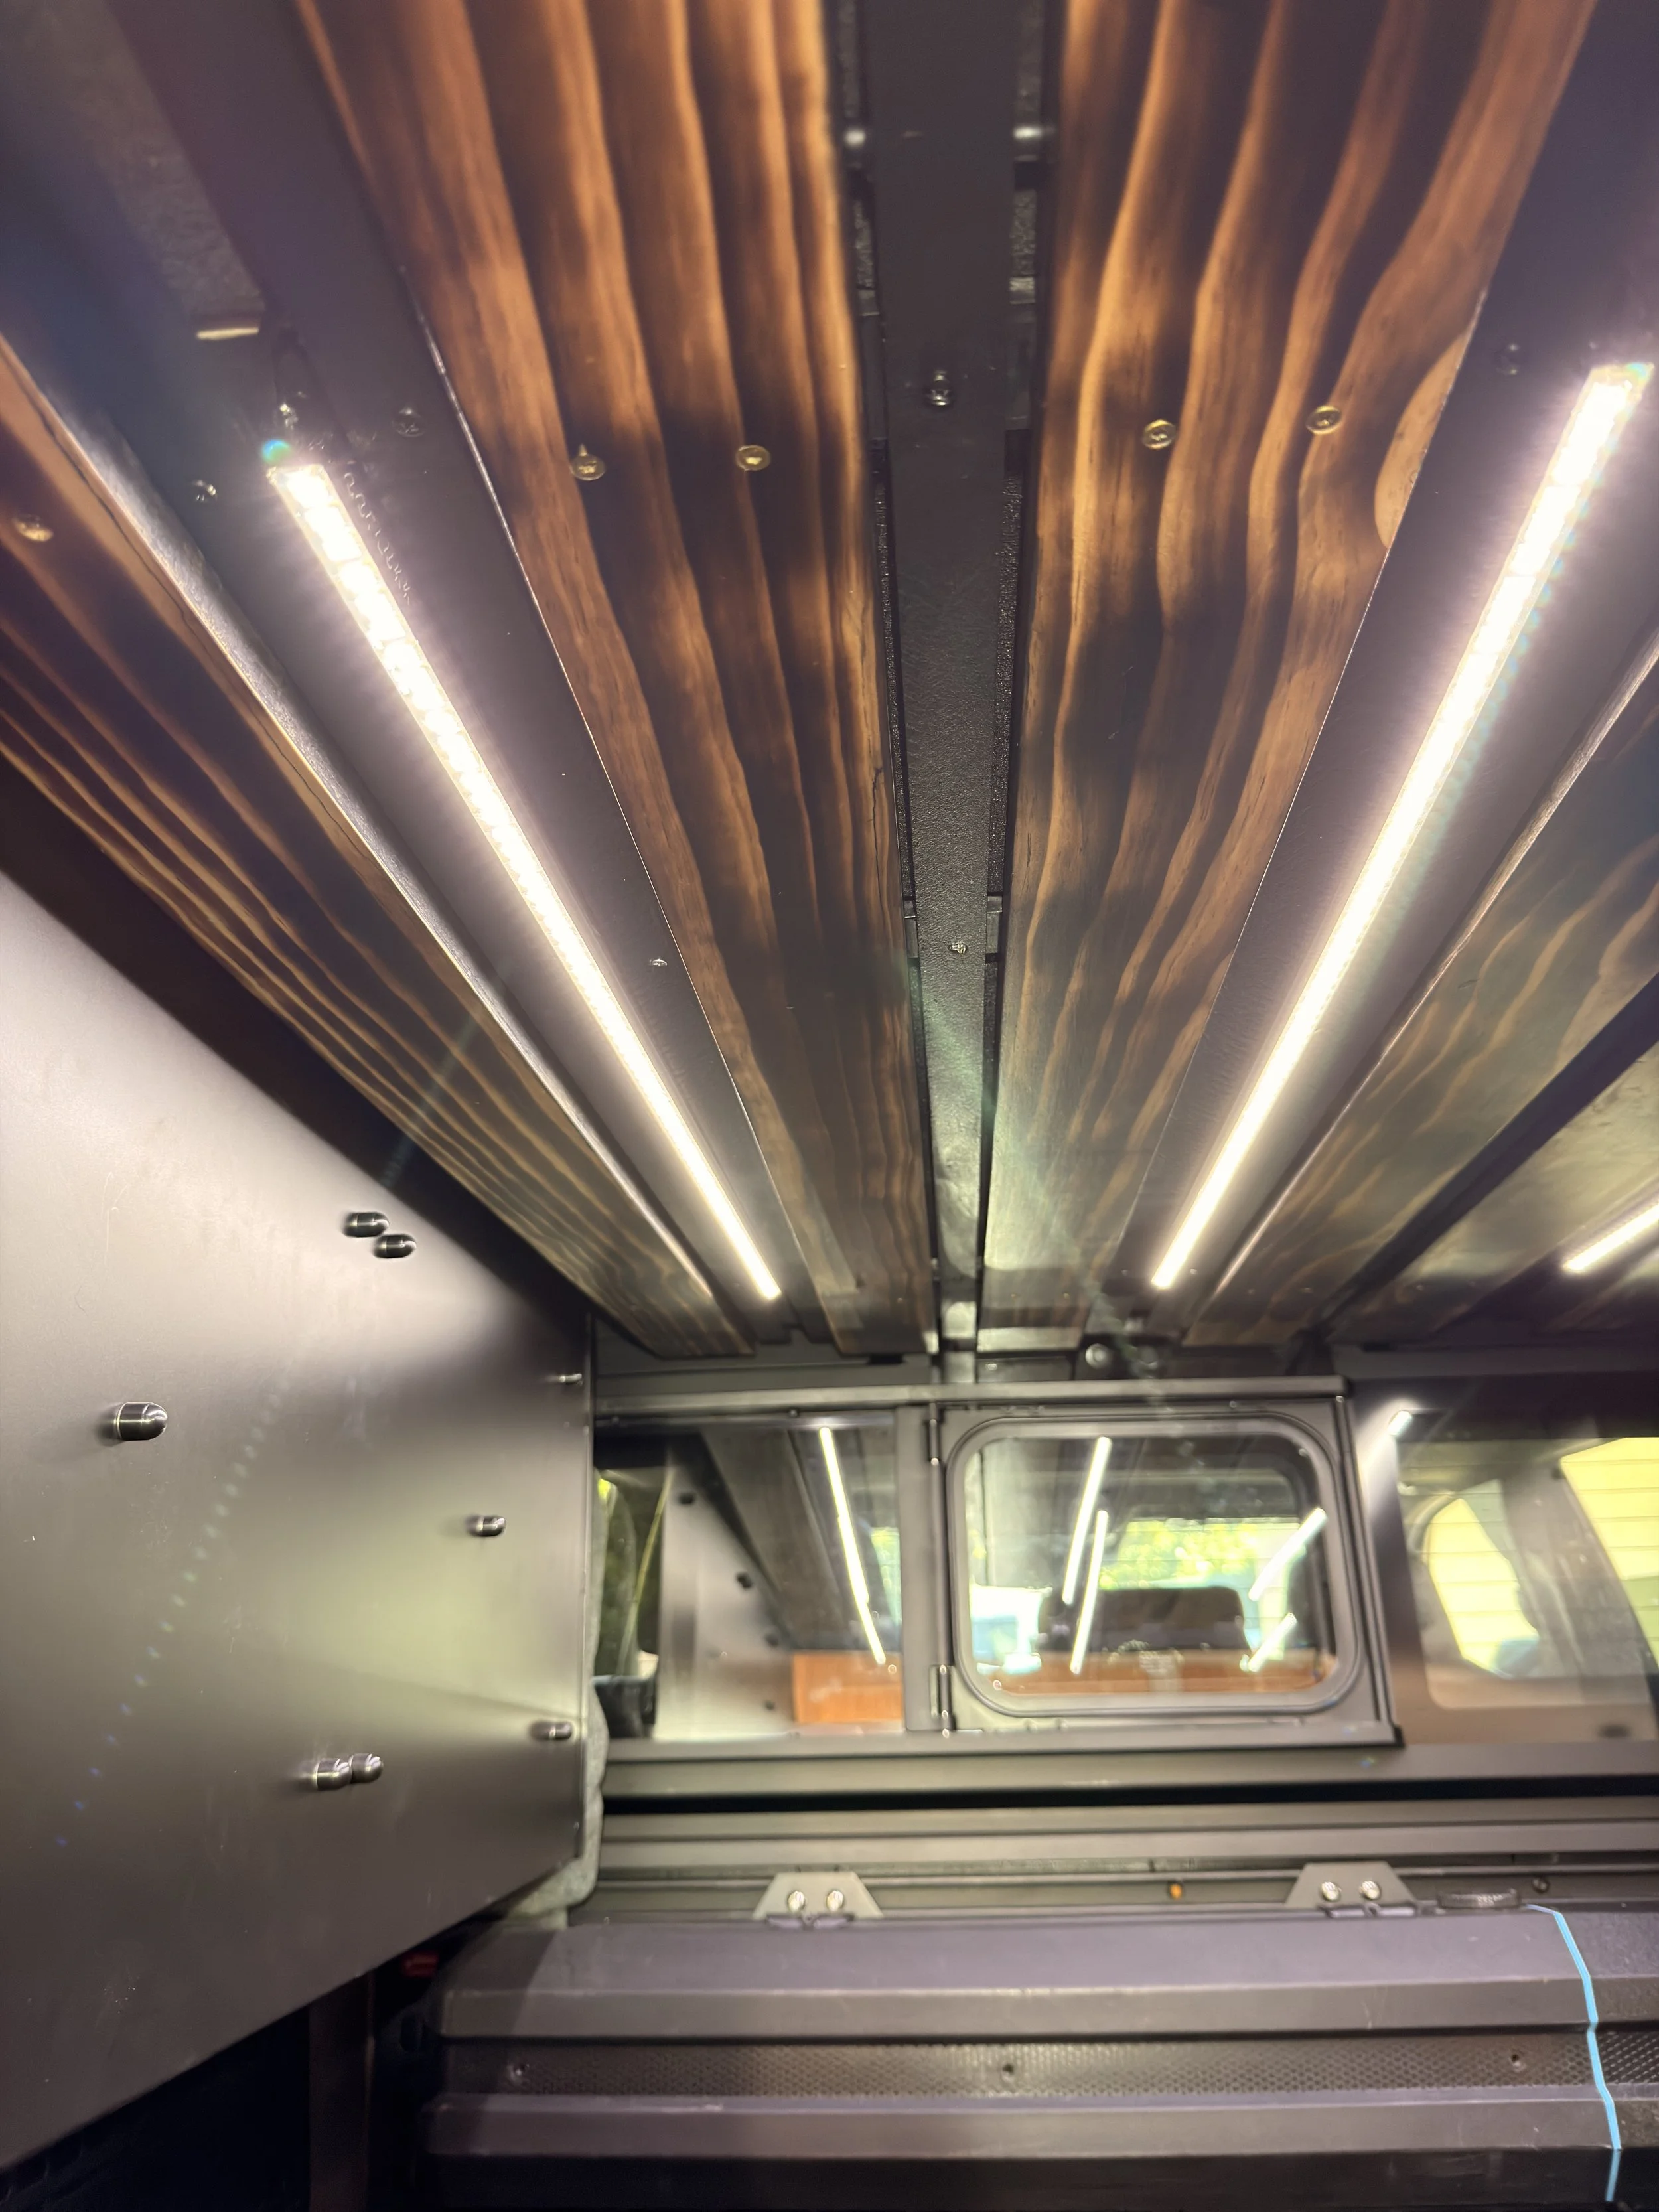
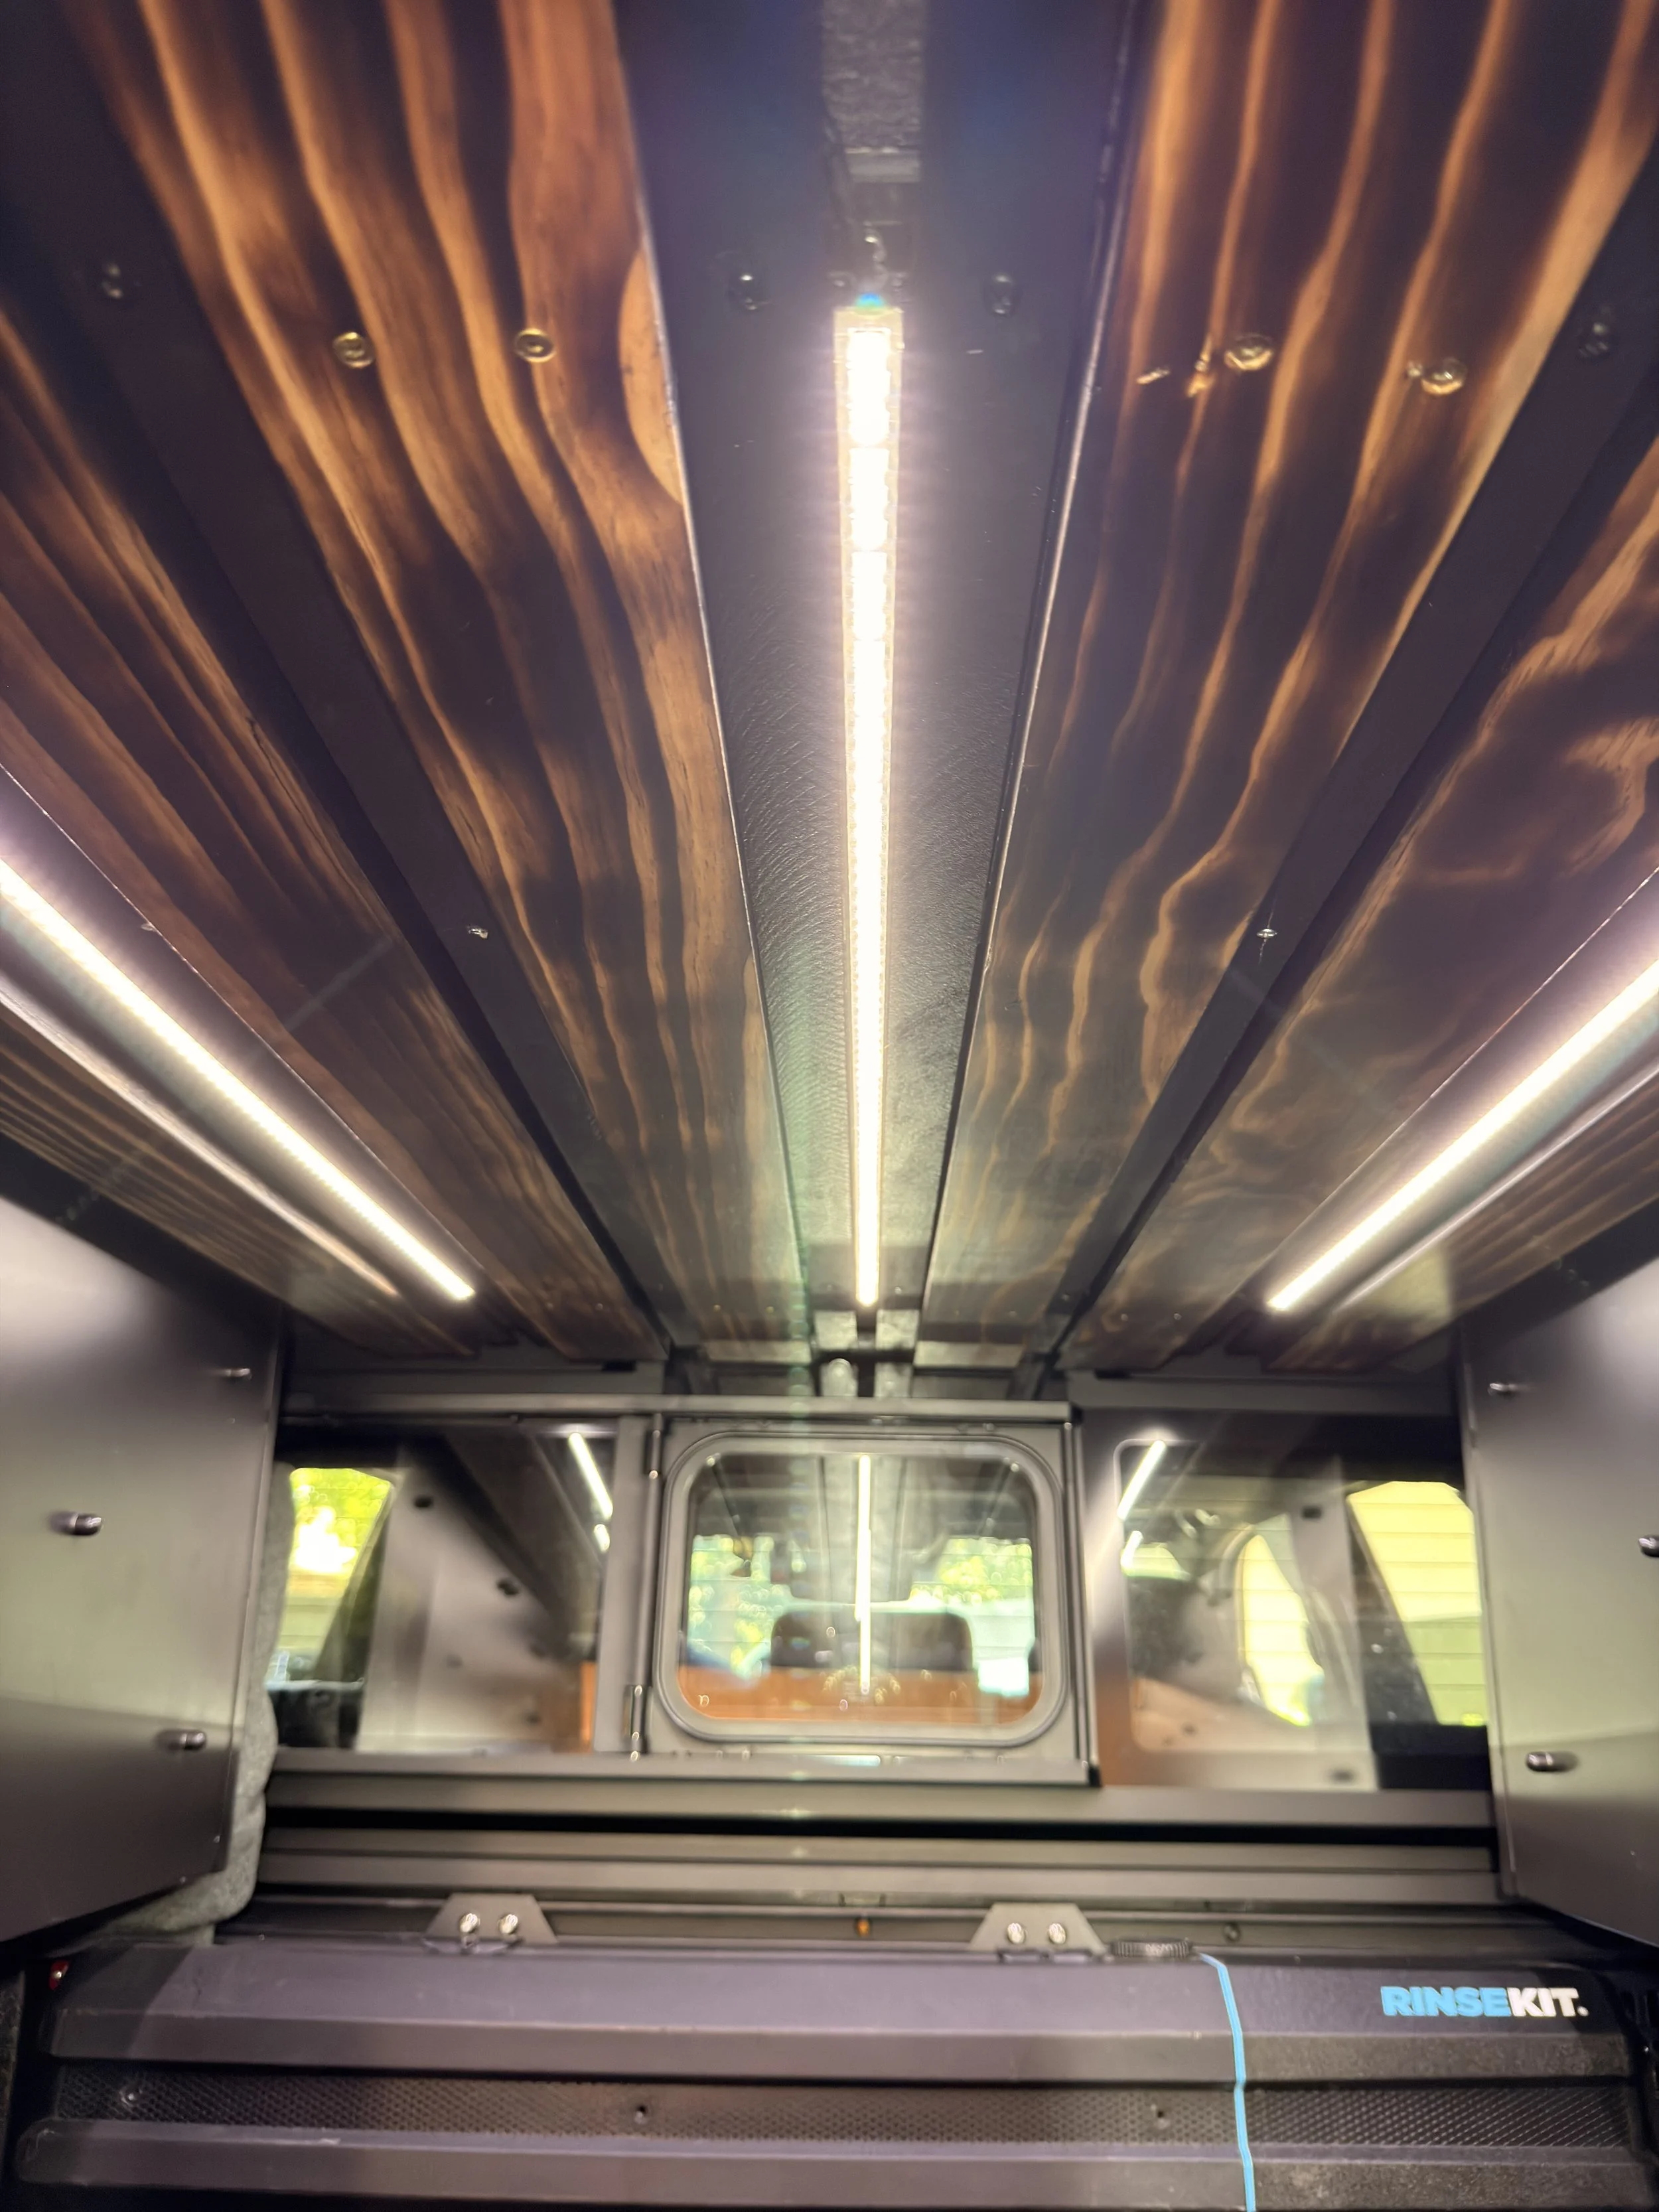
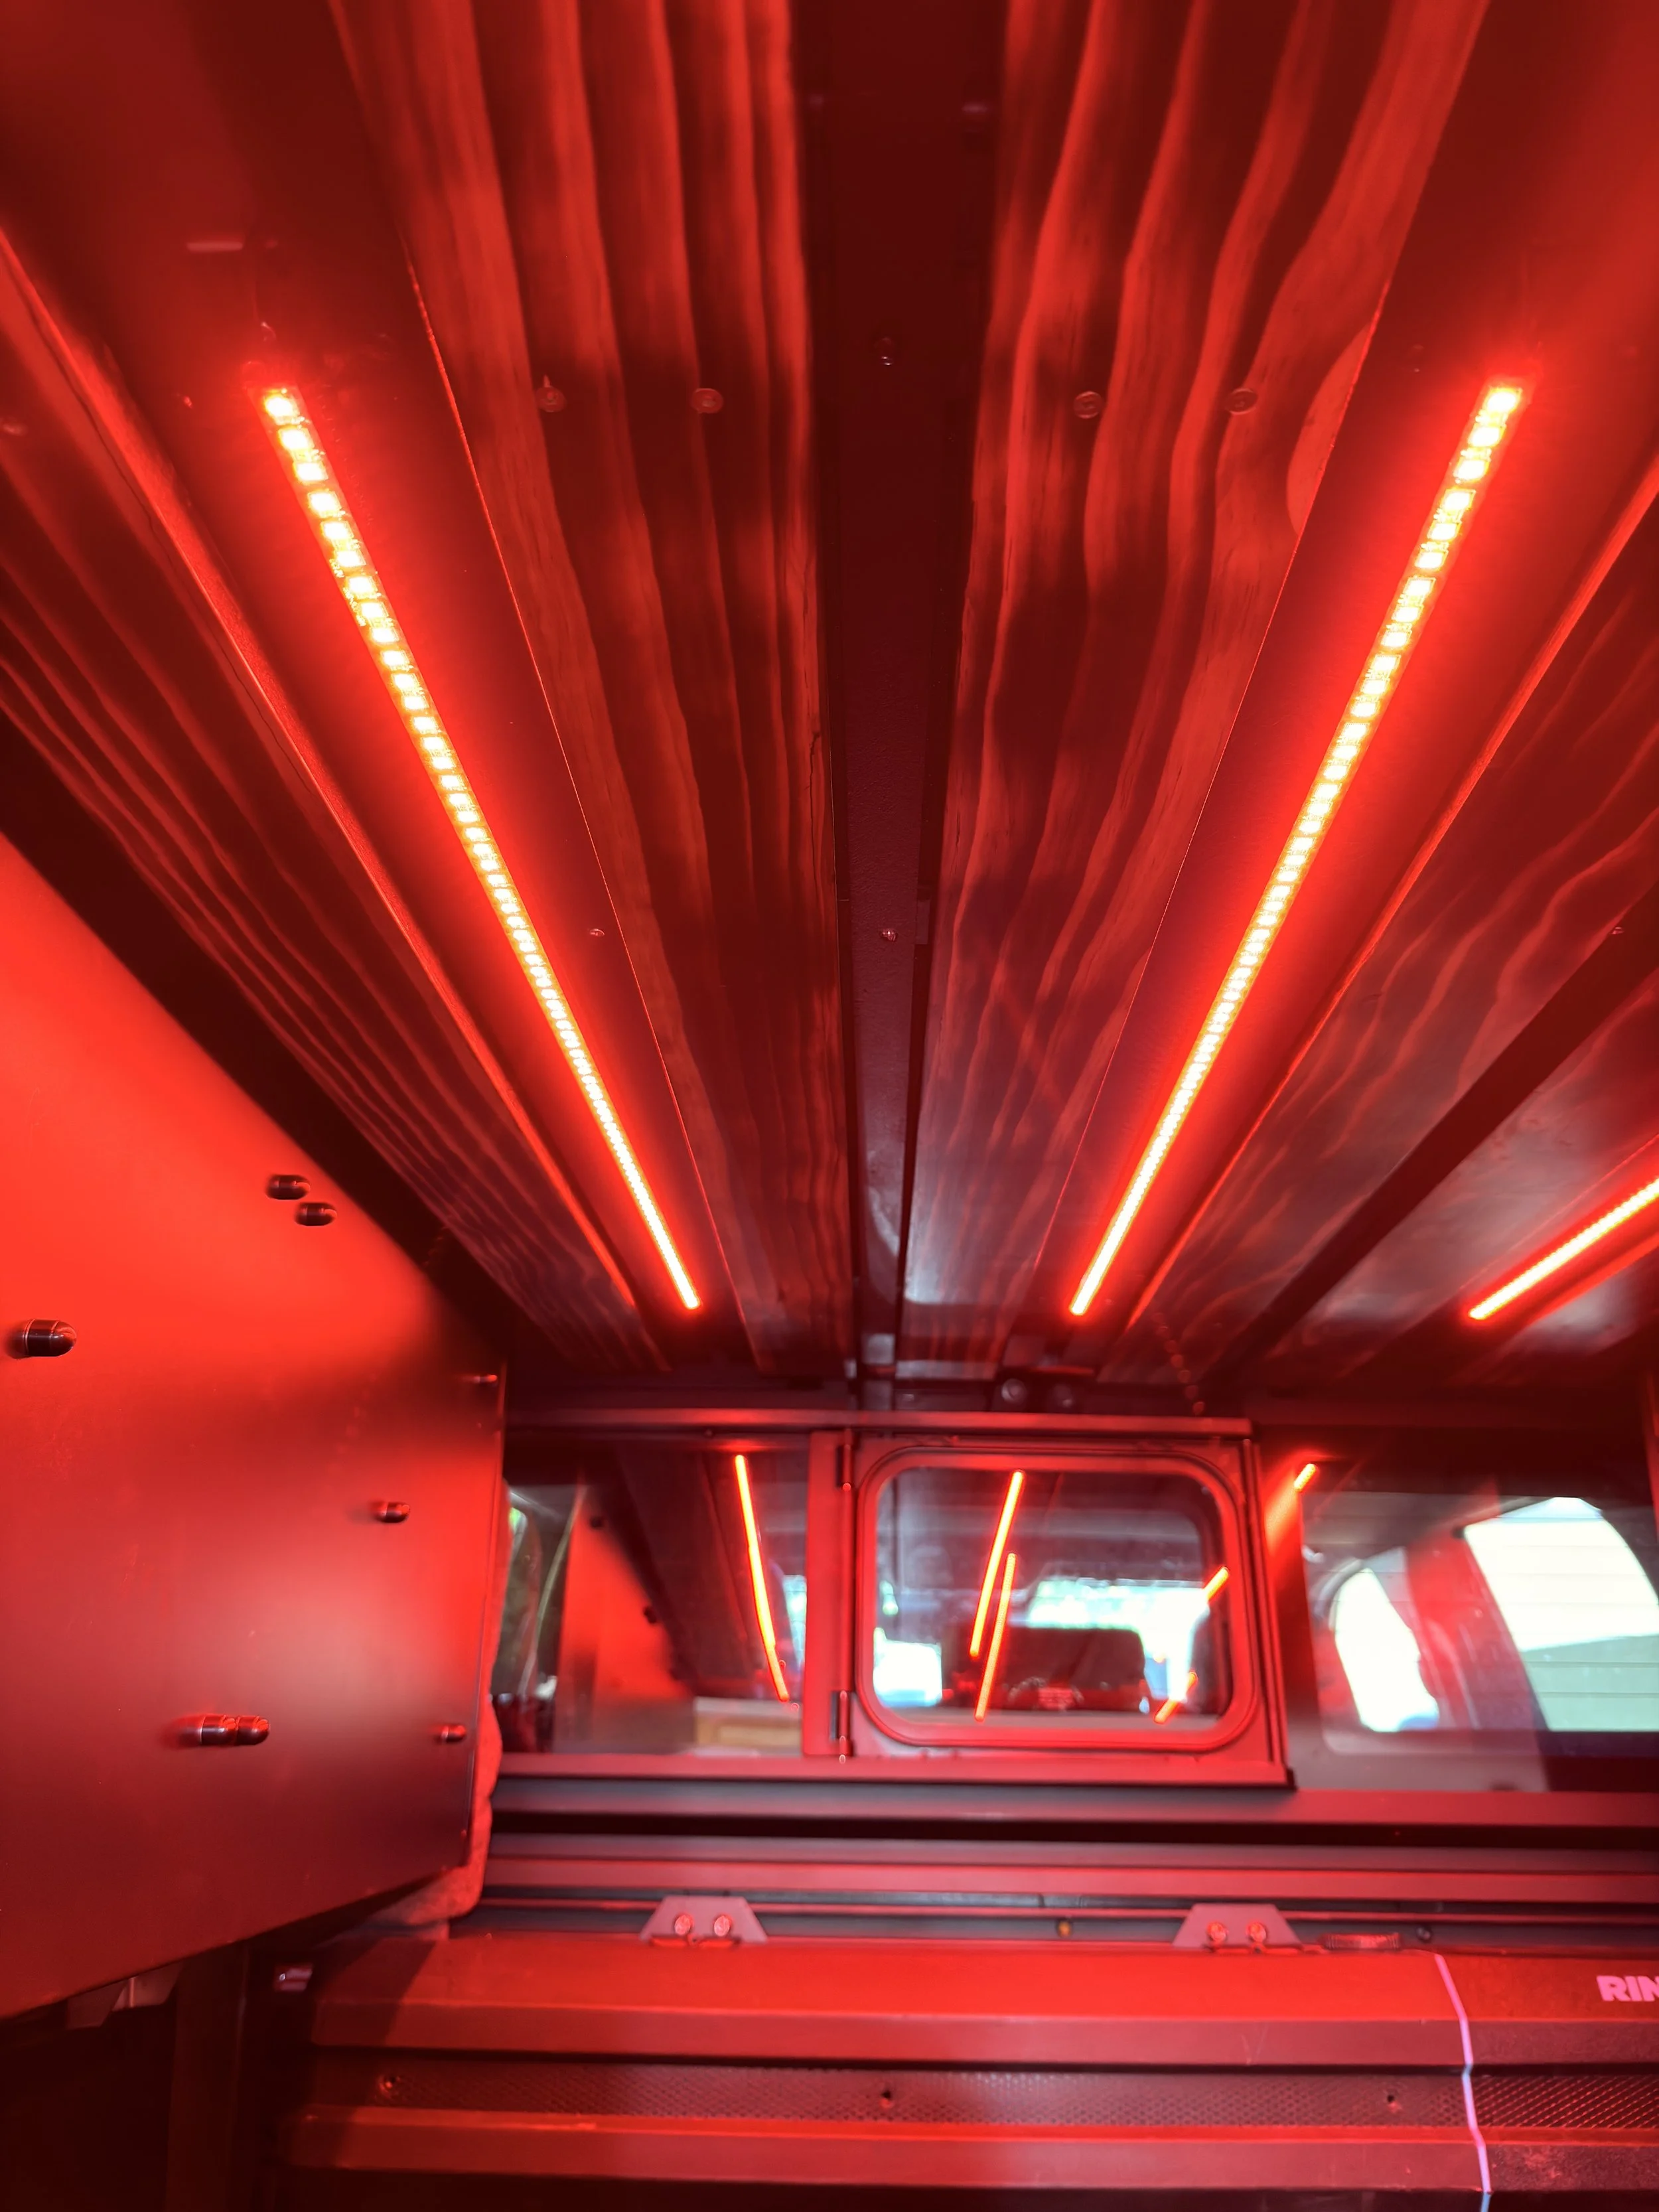
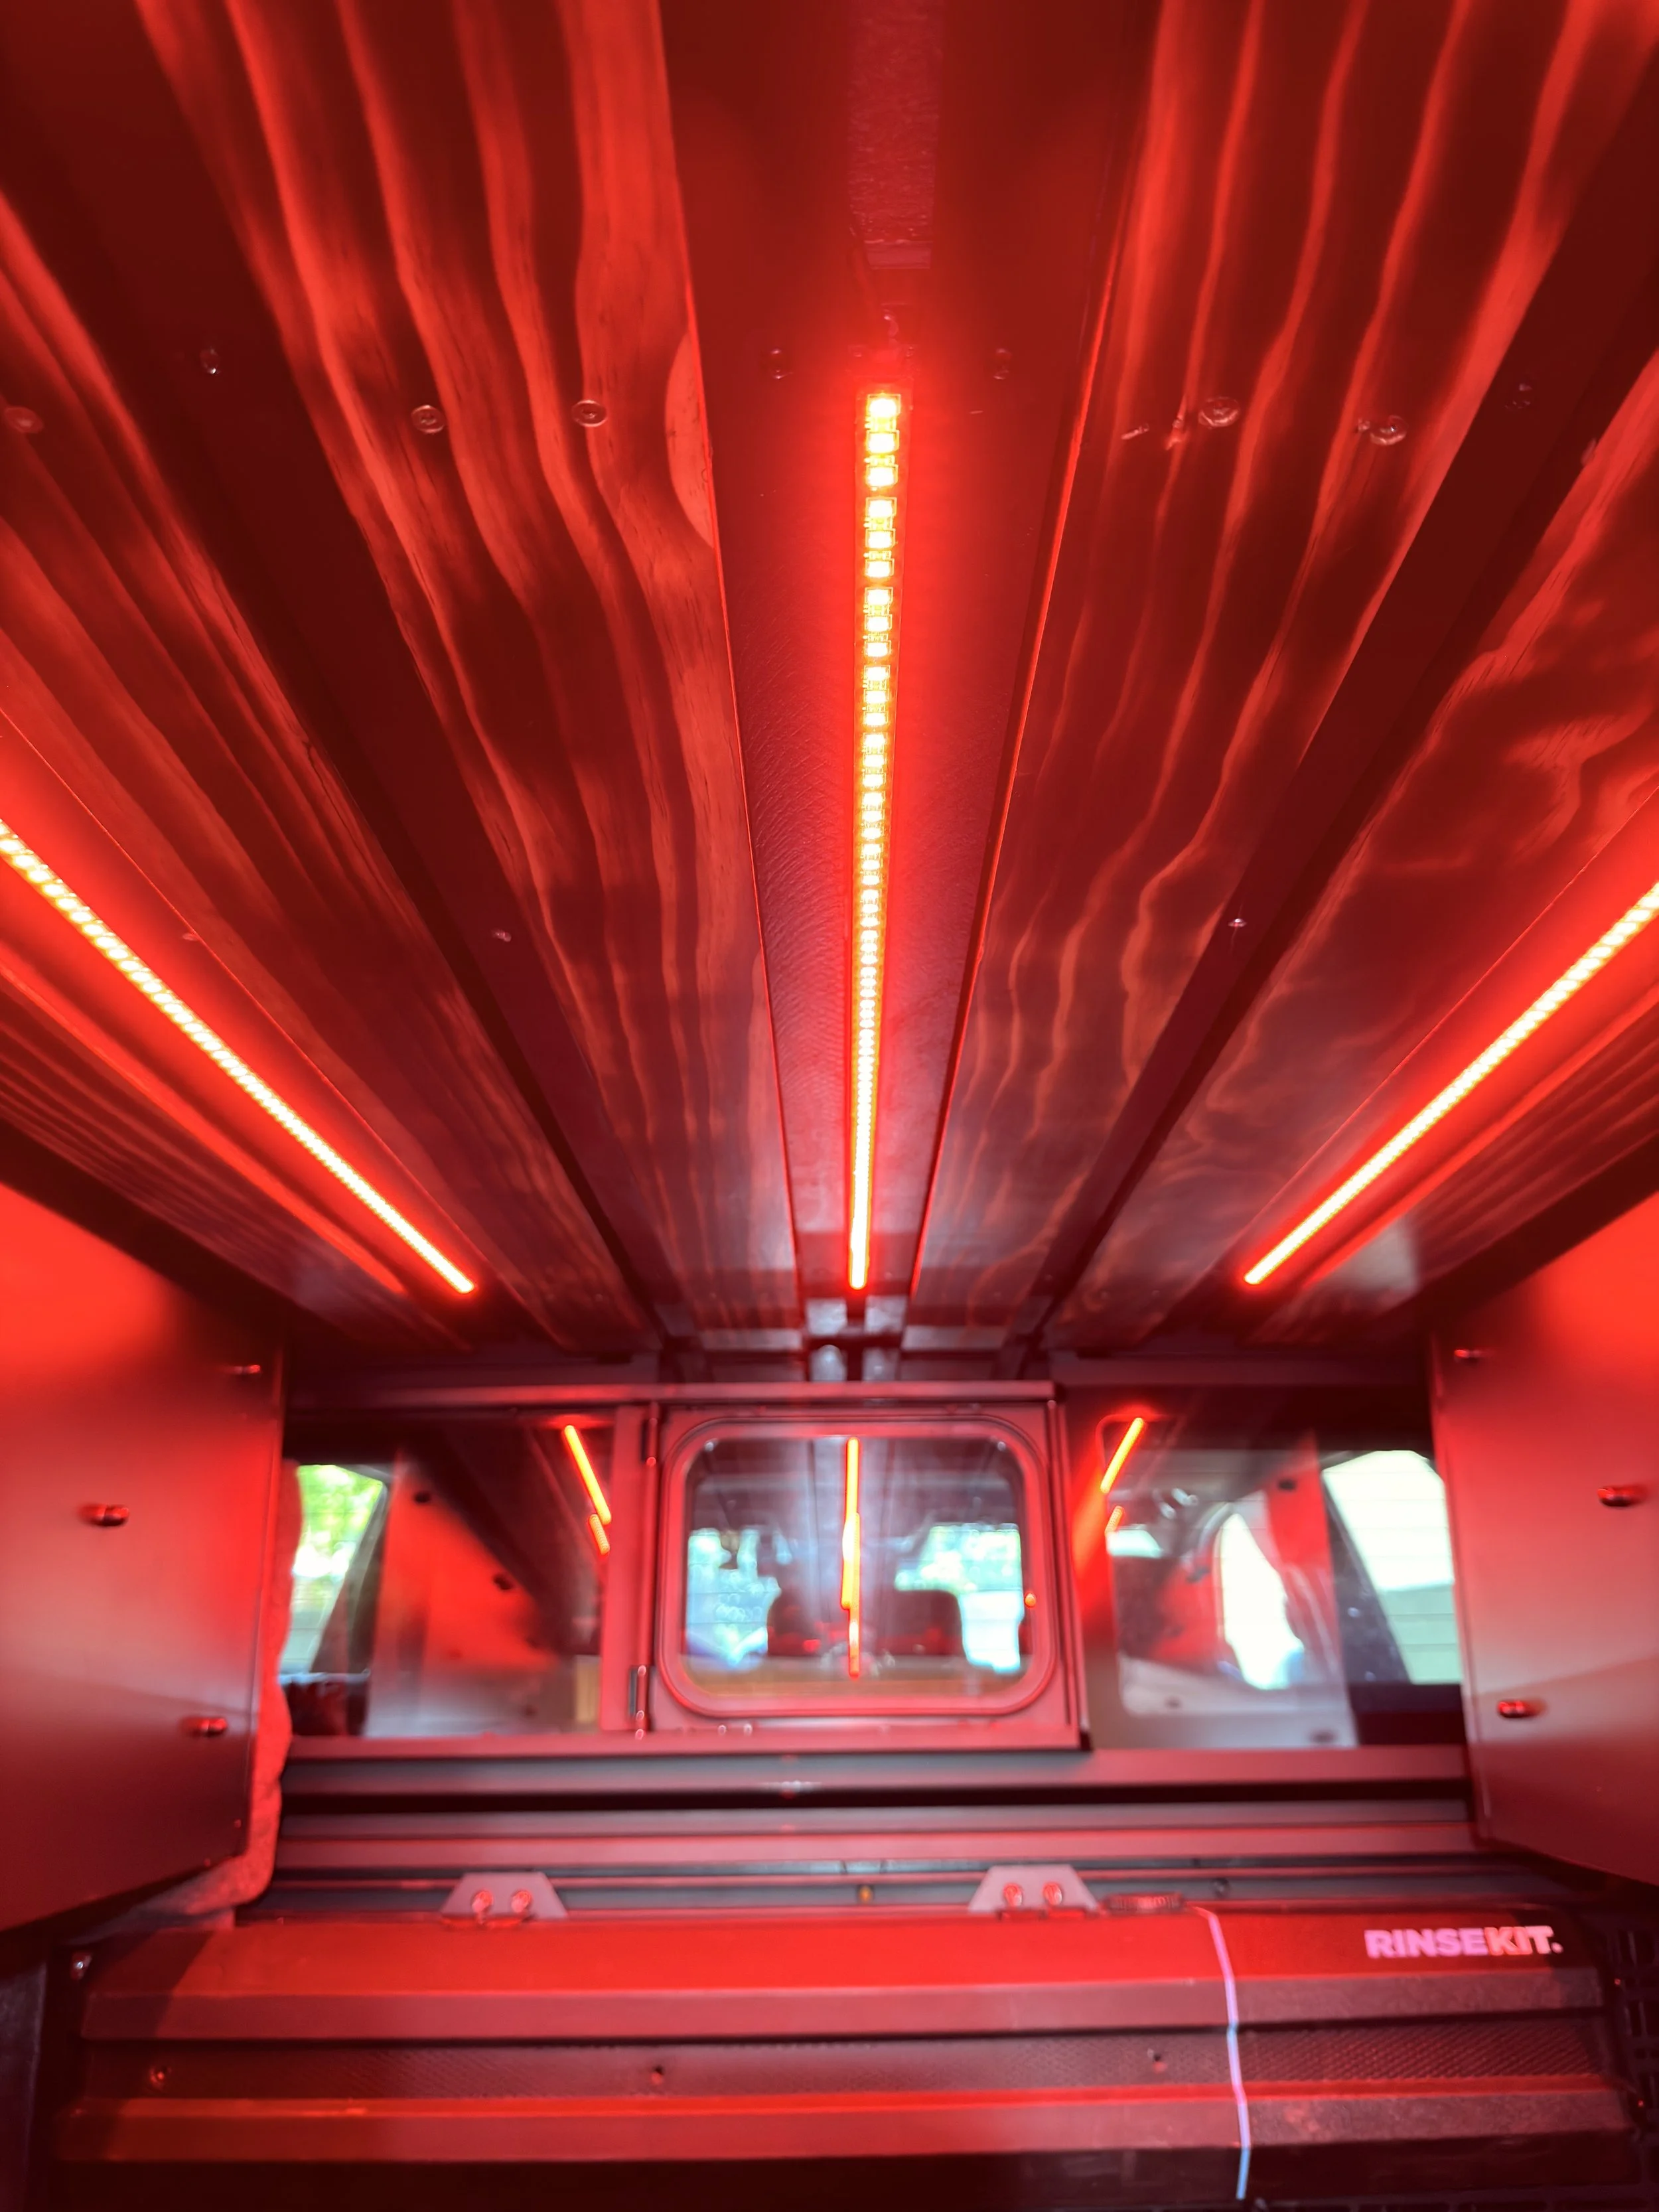
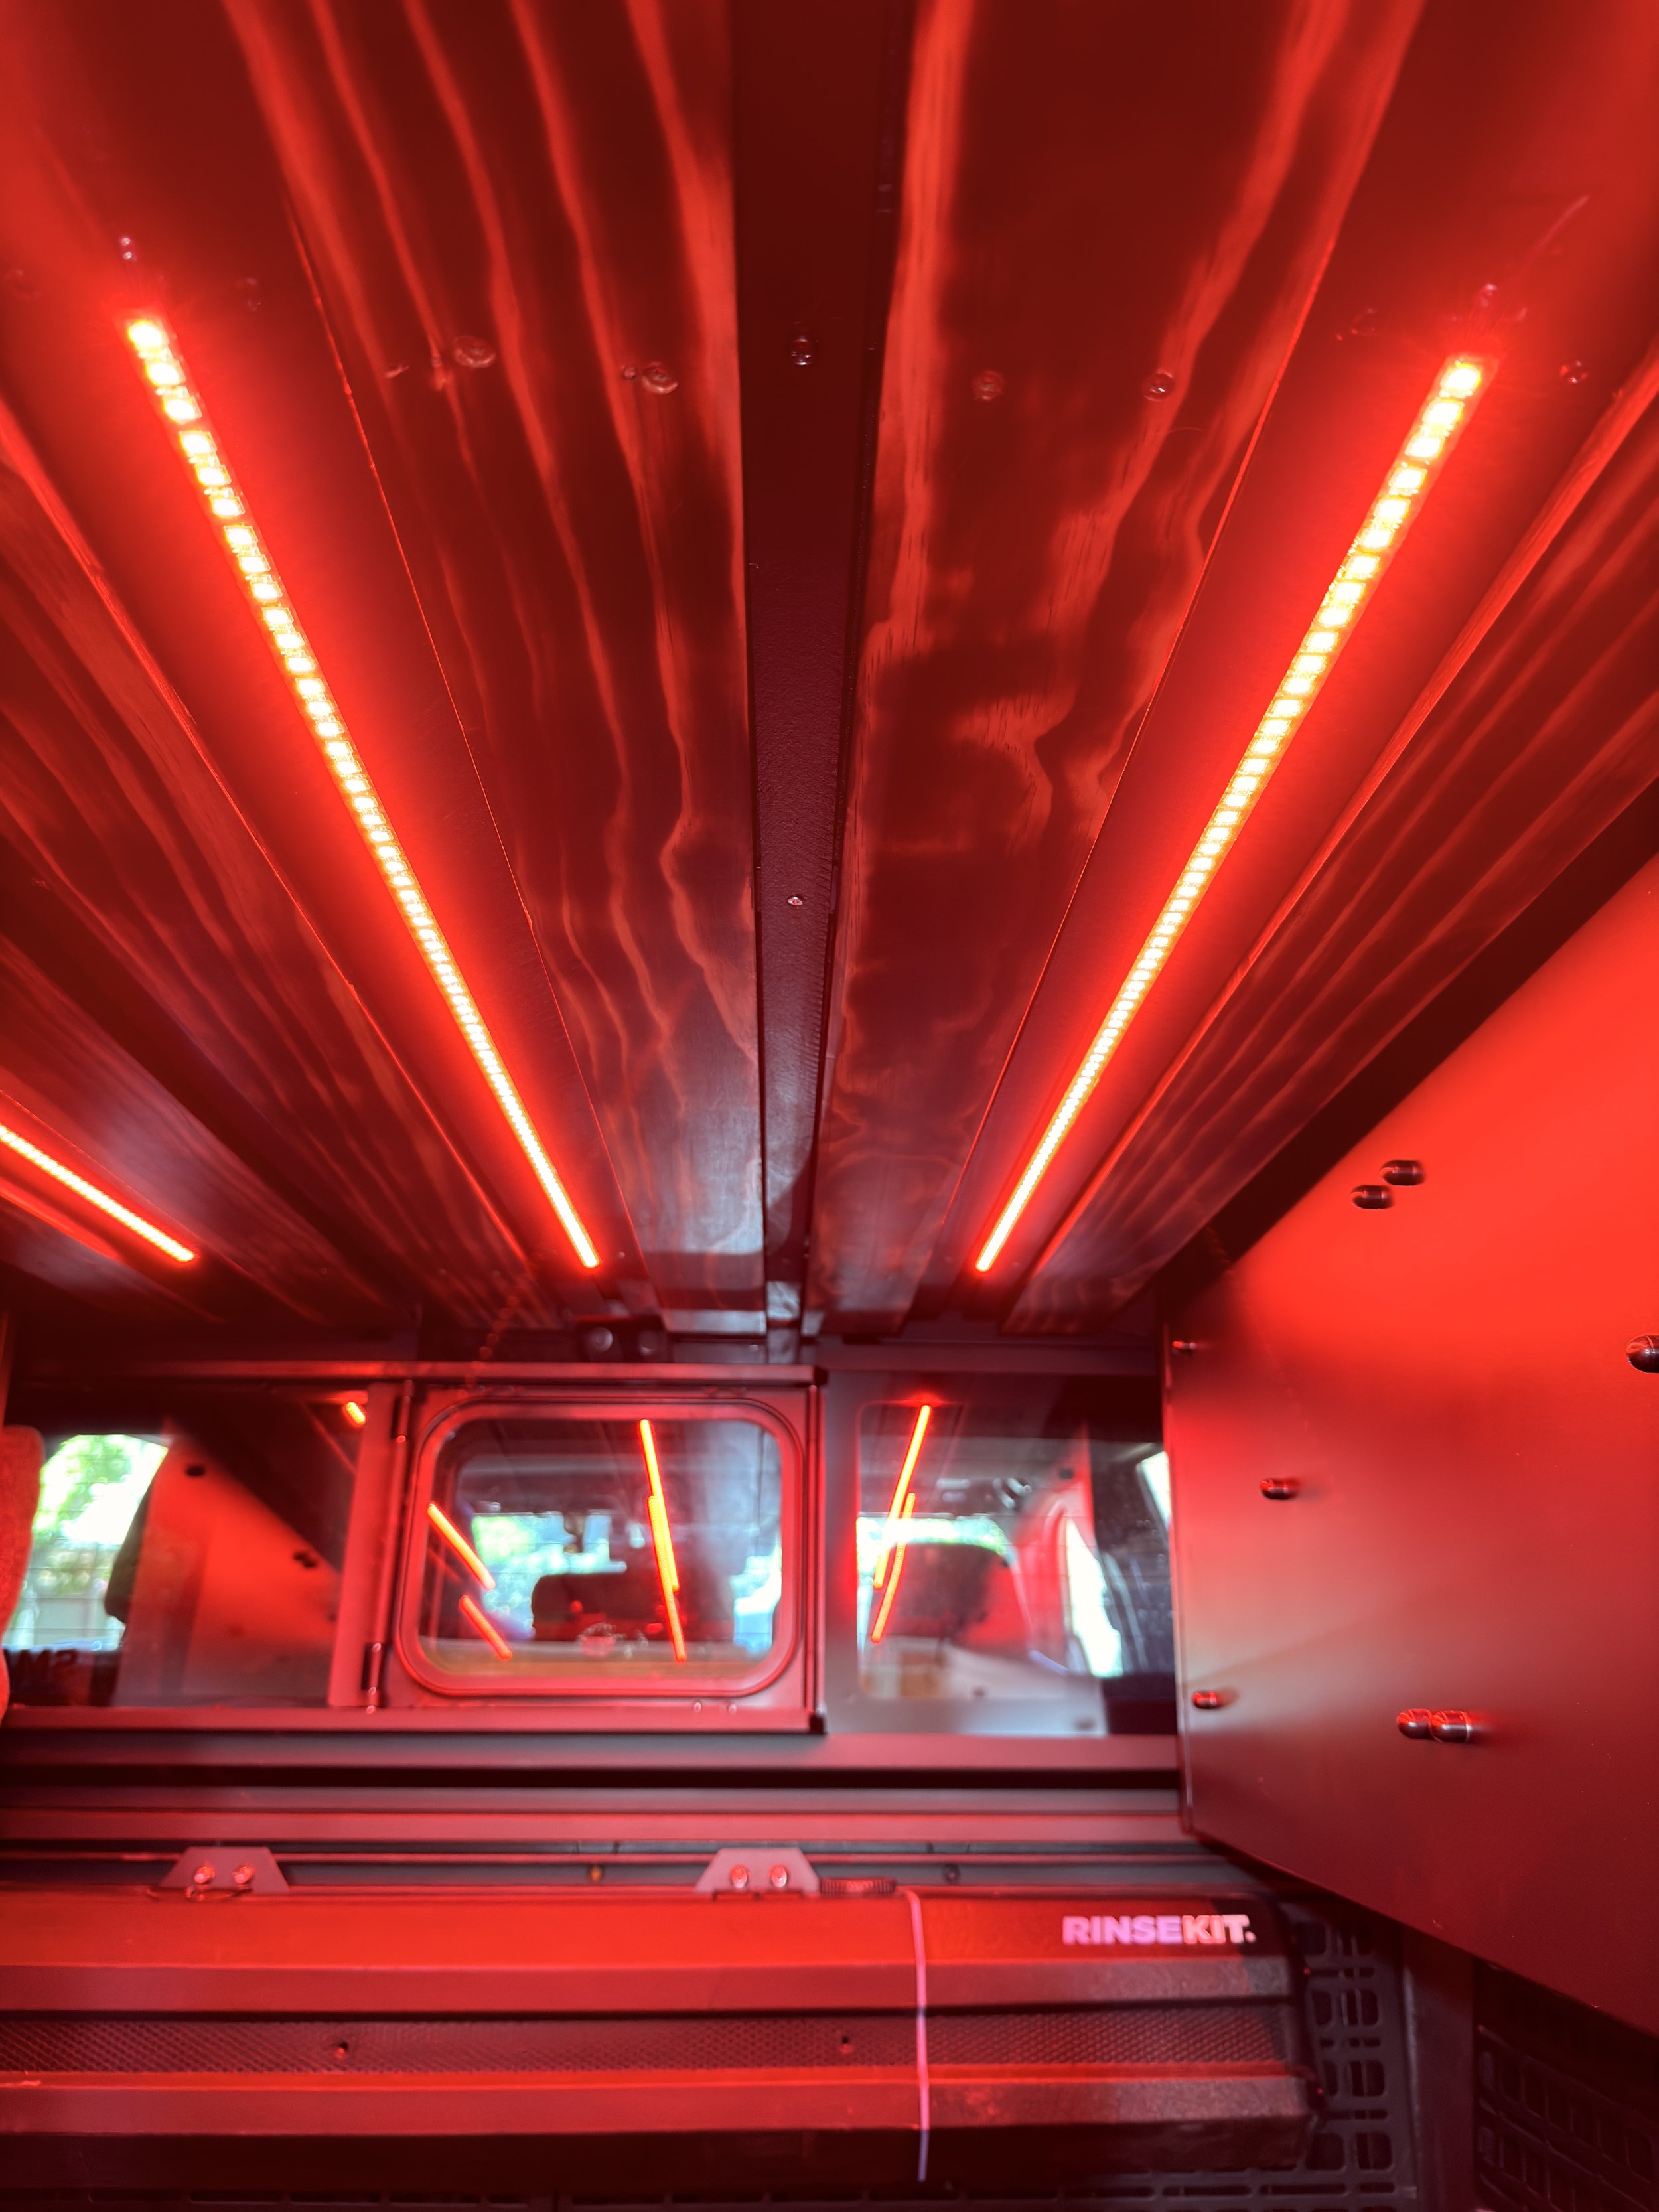
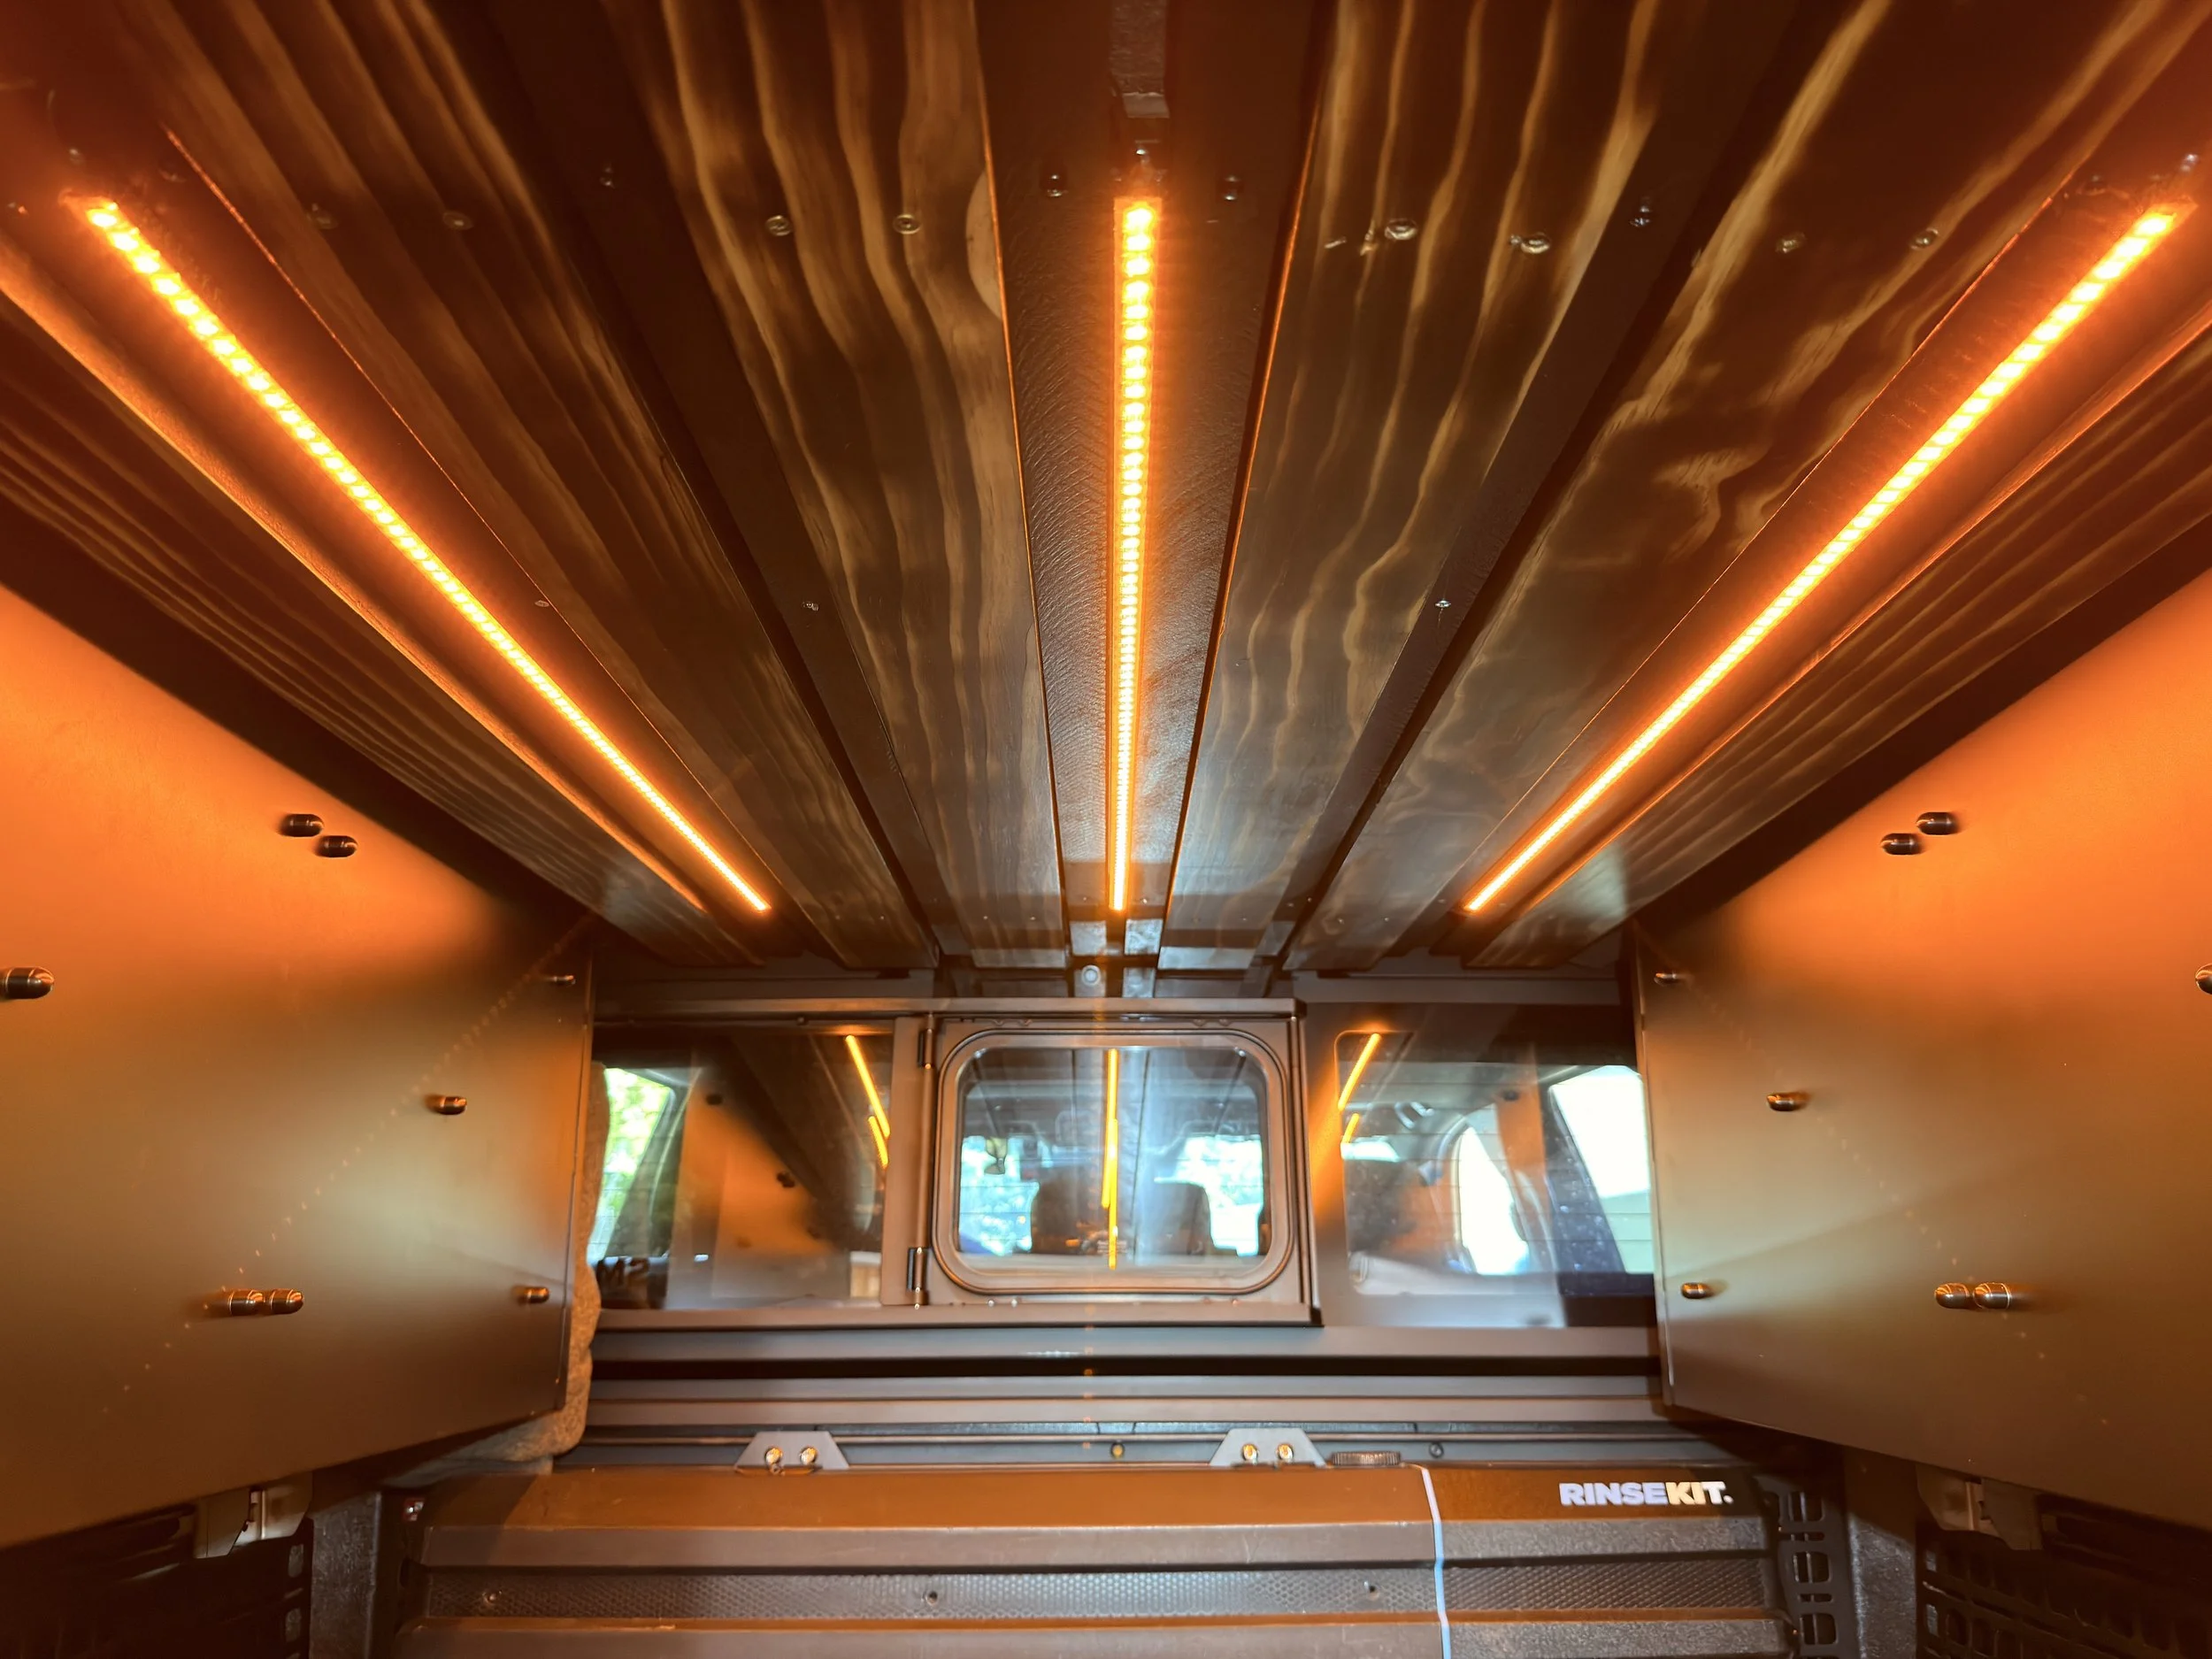
For the LEDs, I went with the GoFluxx 36" LED strips — three of them, run lengthwise between the boards. They tie in with color and brightness control, which is why you're seeing warm white, amber, and red modes in the photos. Red especially turned out to be a nice touch for nighttime — enough light to move around and find gear without blowing out your night vision. I didn't stop at the main ceiling run either. Three more strips went in around the cap — one on the rear door, and one in each of the full bins — so there's usable light no matter which part of the topper you're digging through. If you’re looking for lighting for your build, defiently check out GoFluxx.
The Layout Math (For the Nerds Like Me)
If you're the type who wants the actual numbers, here's the gist: nine total elements across the width — six boards, three lights — arranged Board-Light-Board-Board-Light-Board-Board-Light-Board. Every interior gap between elements sits at a constant 1 5/16", except the two gaps flanking the center light, which are 13/16". Because the layout is centerline-anchored, those gaps stay identical at the front and rear of the truck — only the outer wall-to-board distance changes with the taper.
Crossbars are 1x2 pine, spaced roughly 35.5" apart center-to-center, mounted into the topper's factory threaded mounting points — no drilling required.
Finishing Touch: Filler Strips
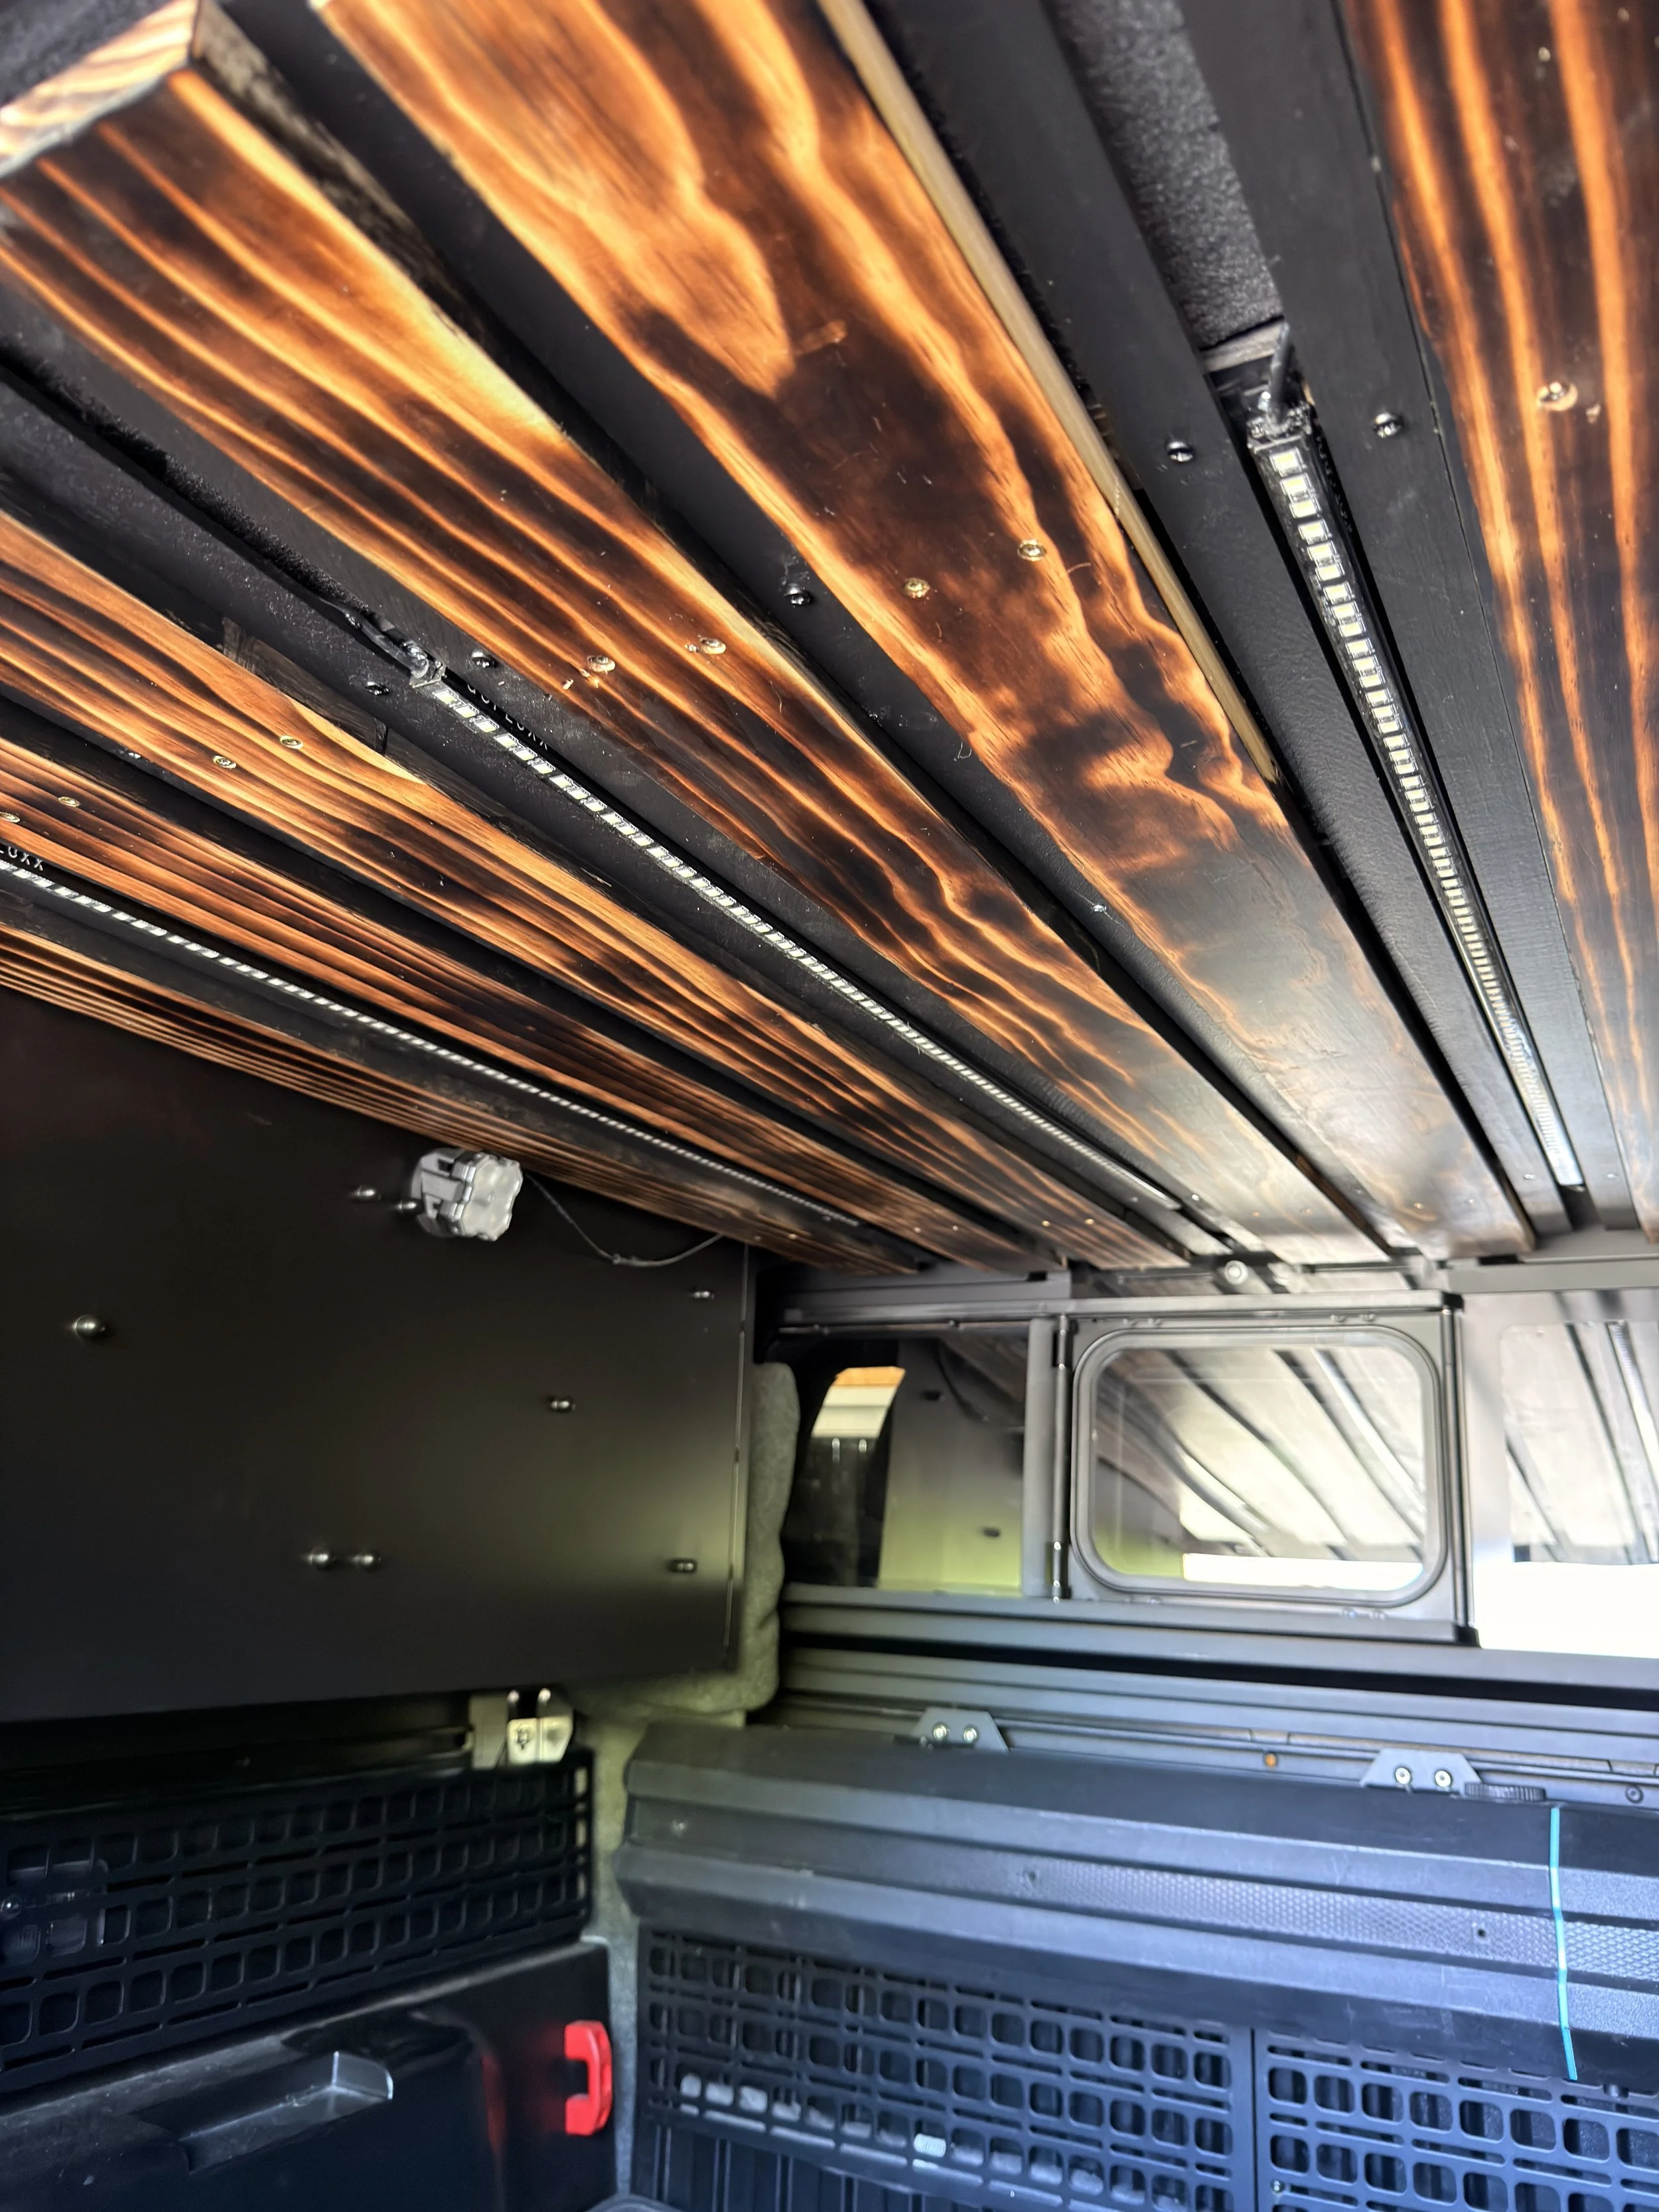
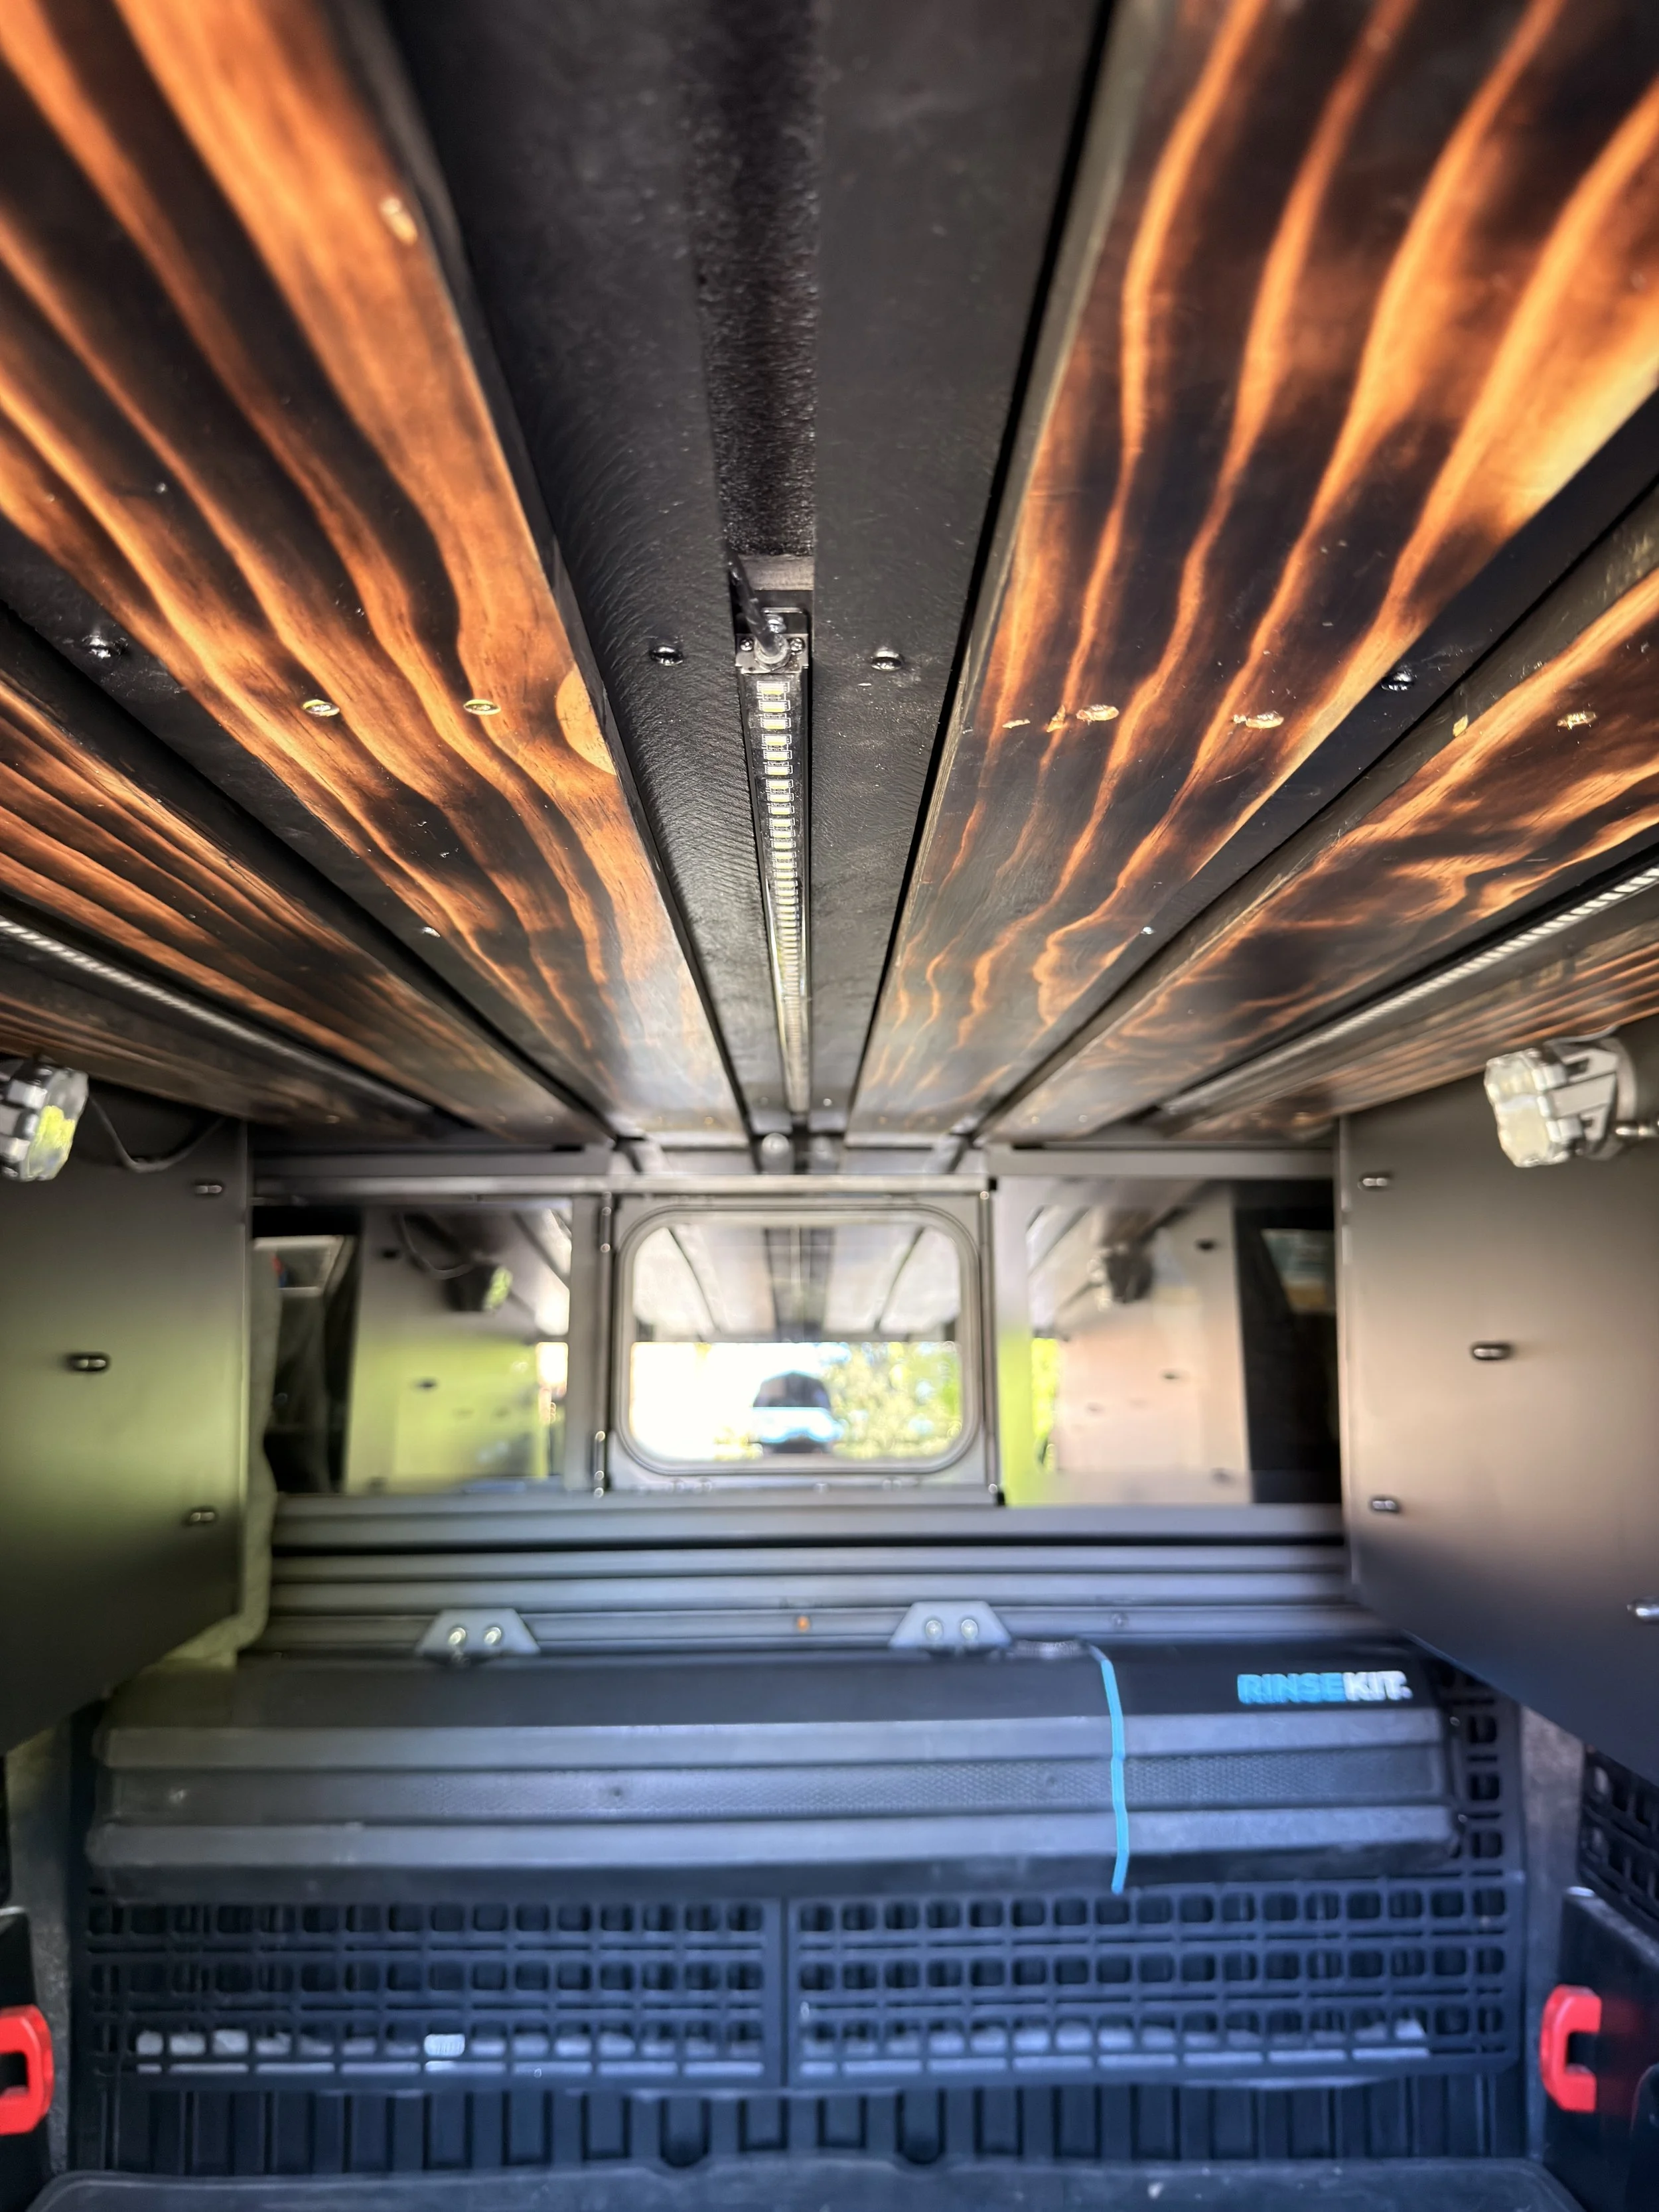
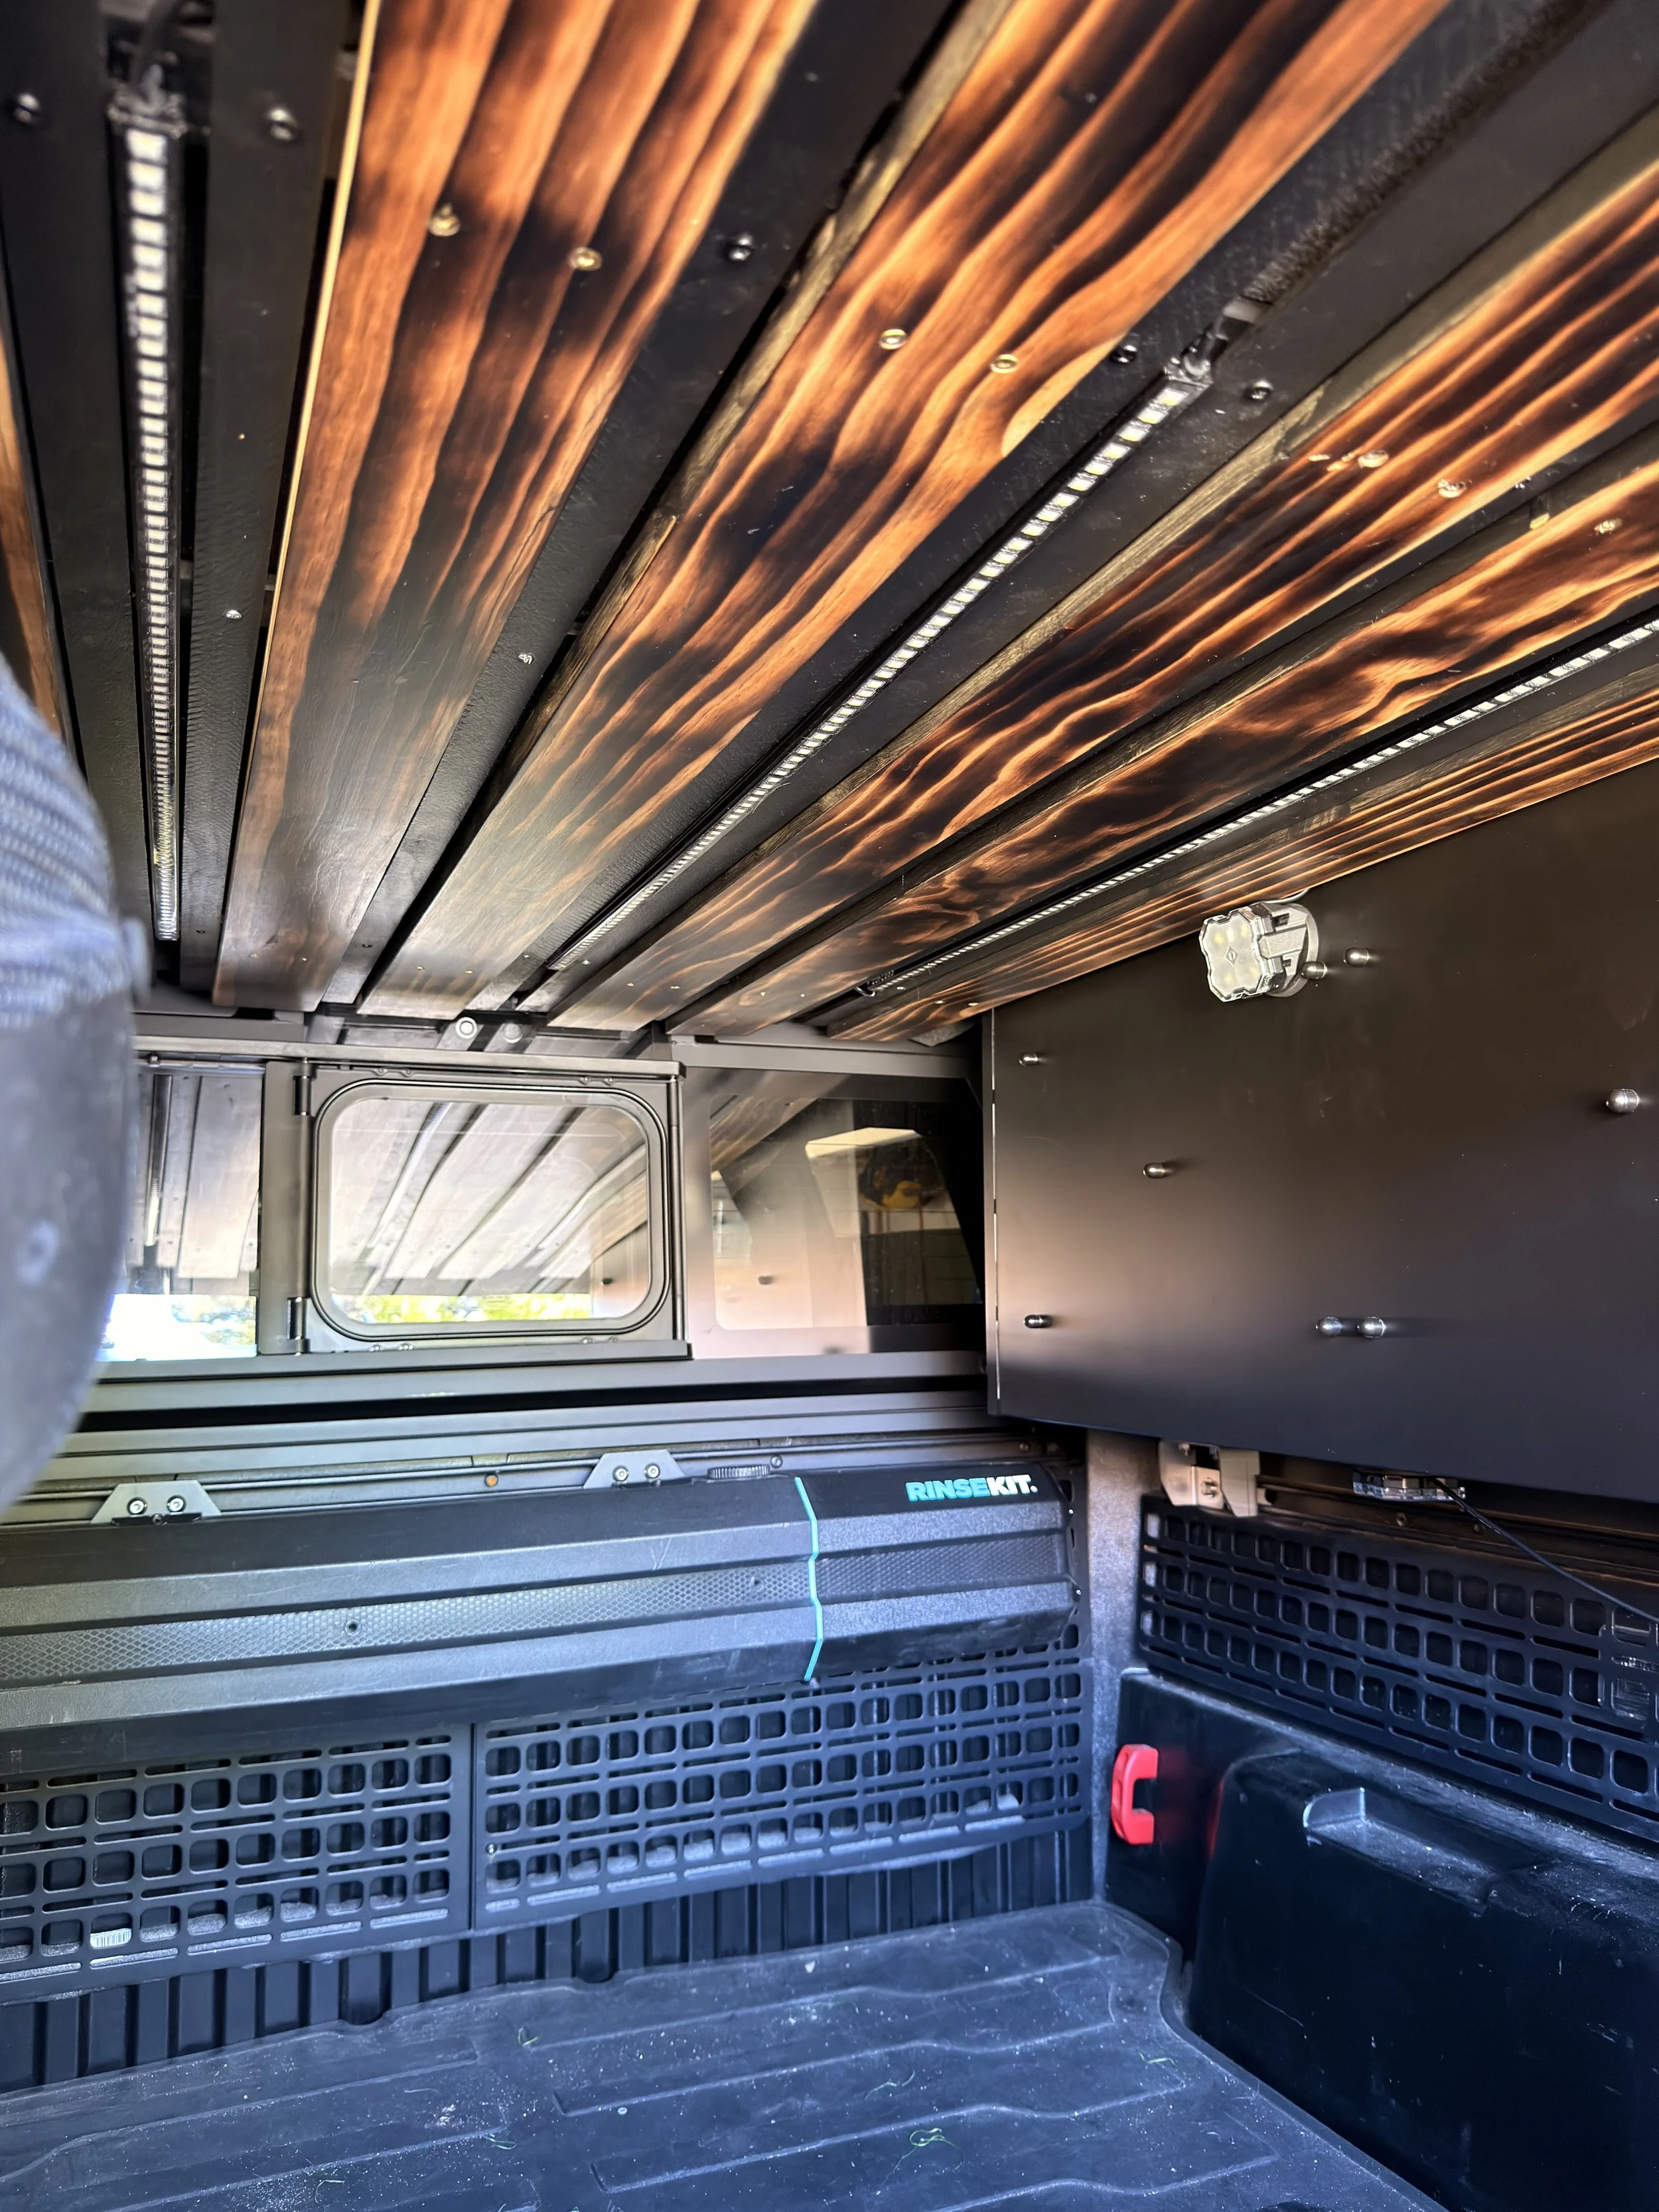
Once everything was up, the gaps between the boards and lights felt a touch wider than I wanted. Rather than pull everything down and rework the spacing, I added thin pine lattice molding strips — painted black, recessed slightly thinner than the main boards — into those gaps. The goal was a subtle shadow-line channel effect rather than a dead-flush fit, so the ceiling reads as more intentional and layered rather than just "boards with gaps." They're in now, and it was the right call — that recessed shadow line pulls the whole thing together.
Final Result
Six charred, sealed pine boards. Insulation and sound deadening behind every one of them. Seven LED strips total across the ceiling, rear door, and bins. Zero extra holes in the roof. A ceiling that finally feels like it belongs in a build instead of a stock cargo shell.
I filmed the whole process — insulation, torching, layout, install, all of it — and a full video walkthrough is coming. Still in the edit, so keep an eye out for that if you want to see the build in motion rather than just read about it. Photos below say it better than I can in the meantime.